C# Tutorial
Prerequisites
Note
To make the most of this tutorial, prior experience with the WASDI platform is required.
For new users, it is highly recommended to follow the Wasdi Web Platform access and basic usage tutorial before continuing.
Setup
Setup on Wasdi web-app side
Open the Wasdi web-application in a browser by typing https://www.wasdi.net/.
On the main page, the marketplace is shown. Go to the Workspaces page by pressing the Workspaces button.
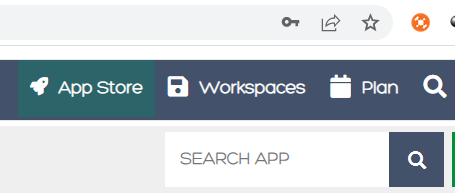
Create a new workspace by pressing the New Workspace button.

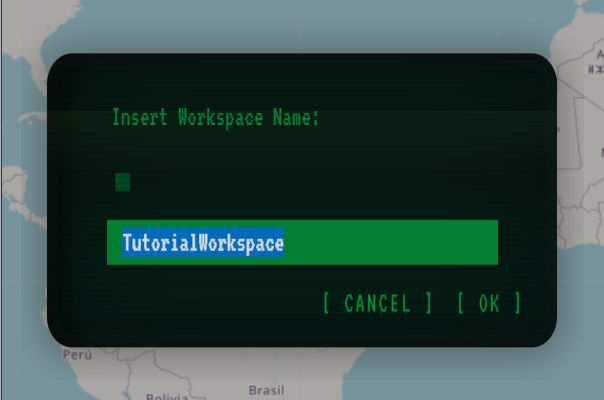
On the pop-up window, specify the name of the new workspace and press Create workspace. For this tutorial, I will choose TutorialWorkspace.
Note
Although it is not mandatory, it is strongly recommended to use the indicated name. This would allow the code to be copy/pasted without adjustments.
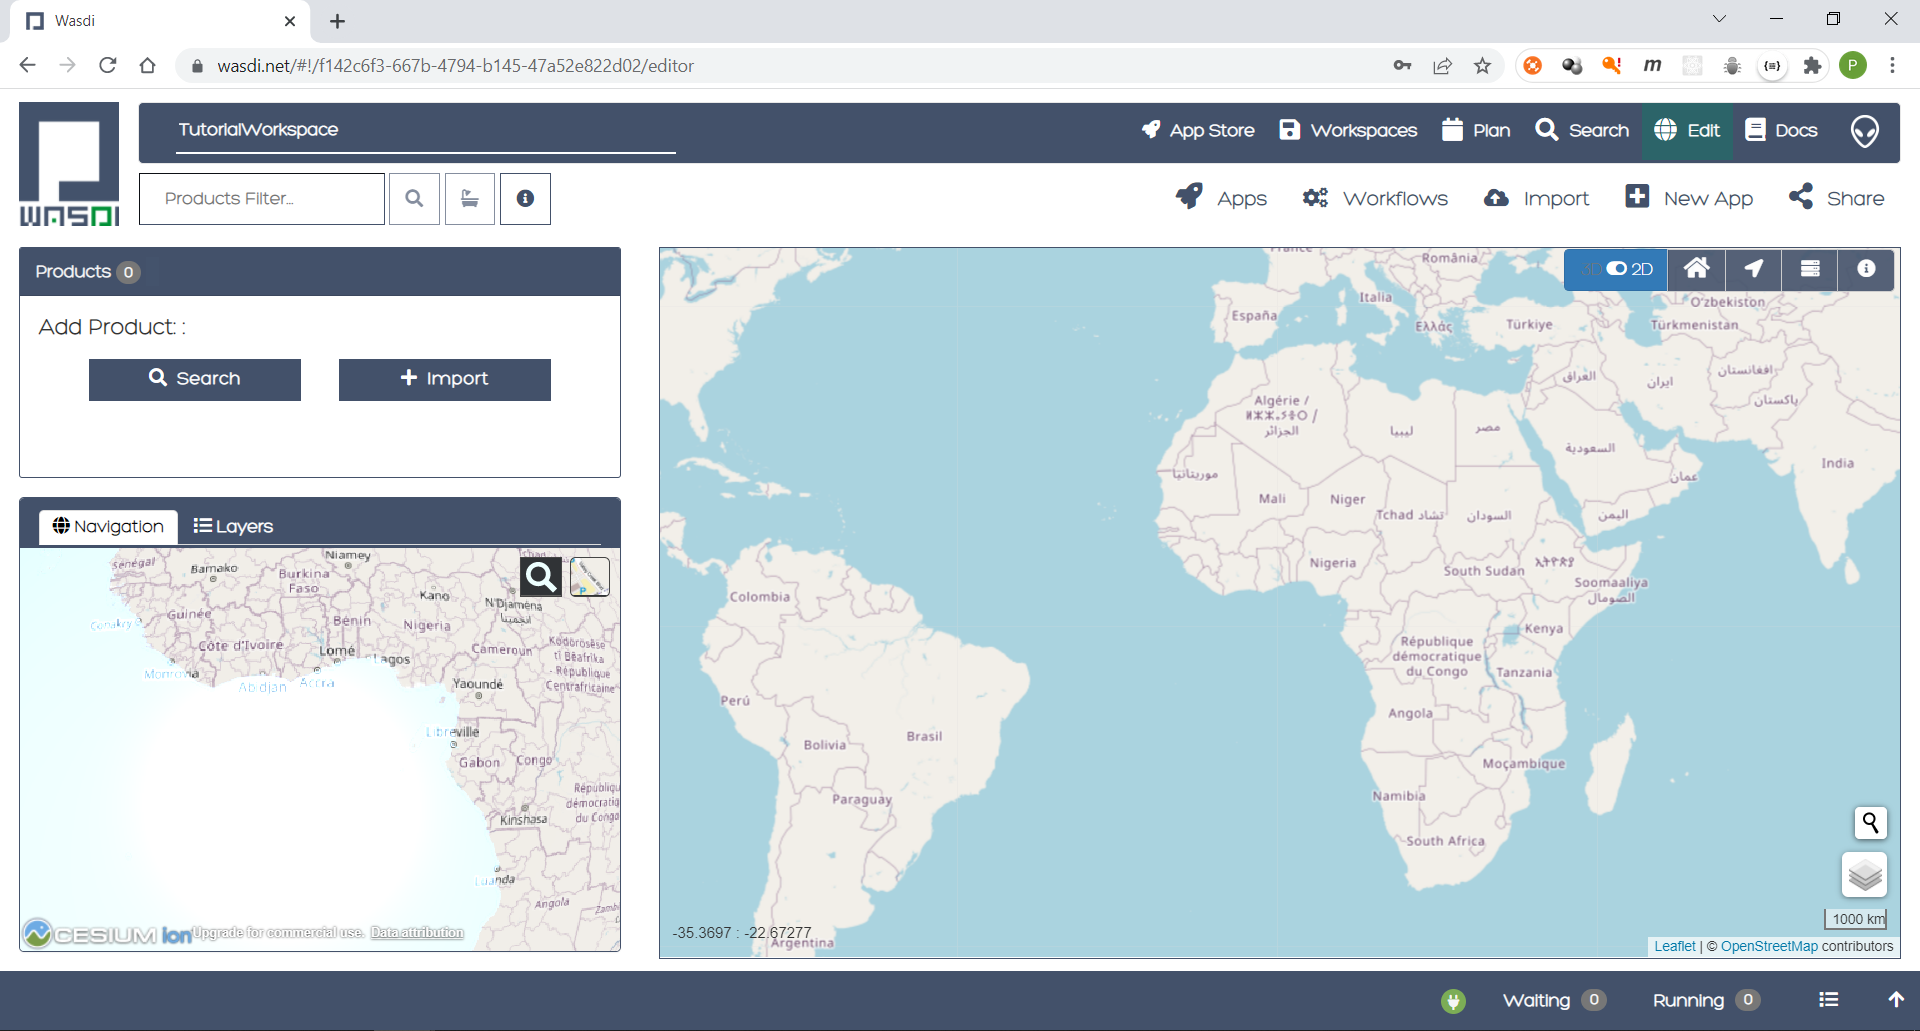
The newly created workspace is shown on the main page.
Setup on Microsoft’s Visual Studio side
Open Microsoft’s Visual Studio
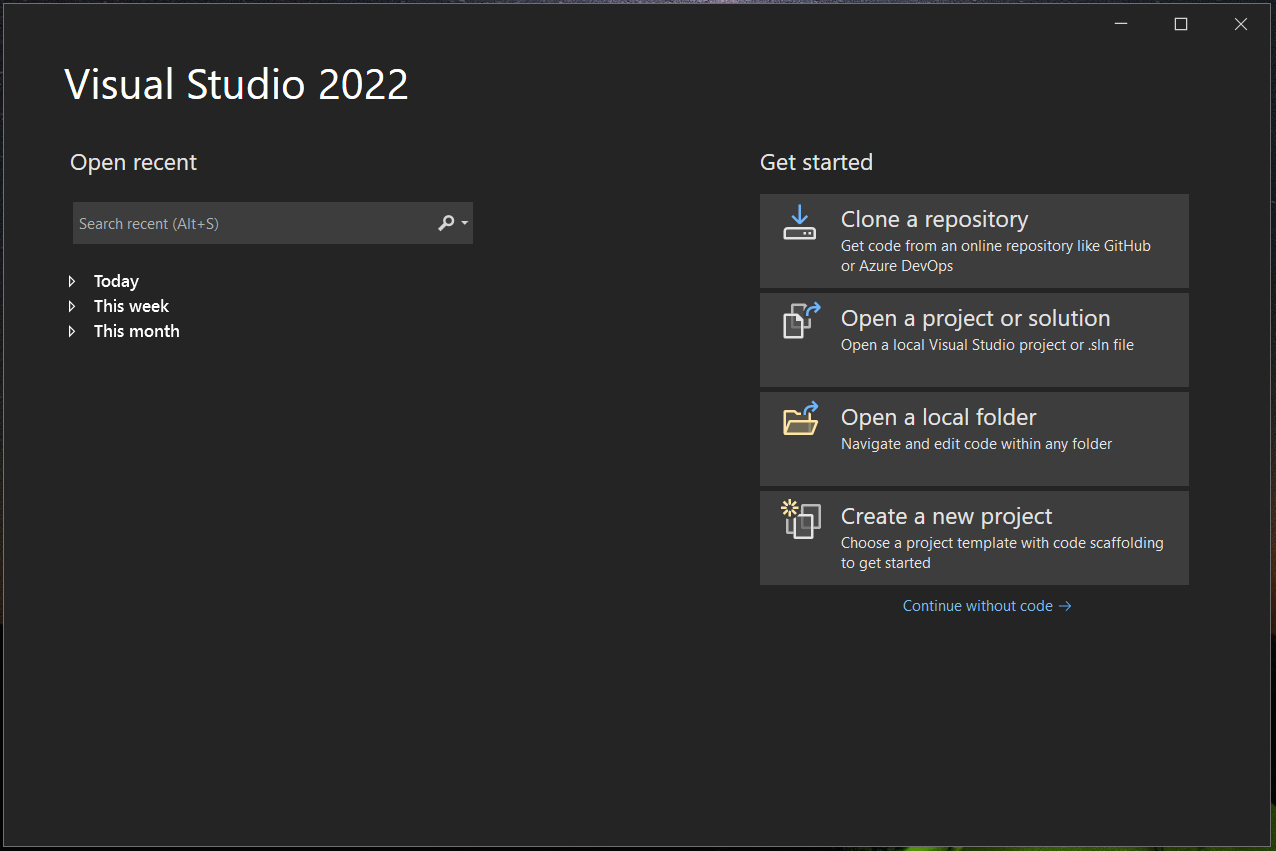
Create a new project (Console App).
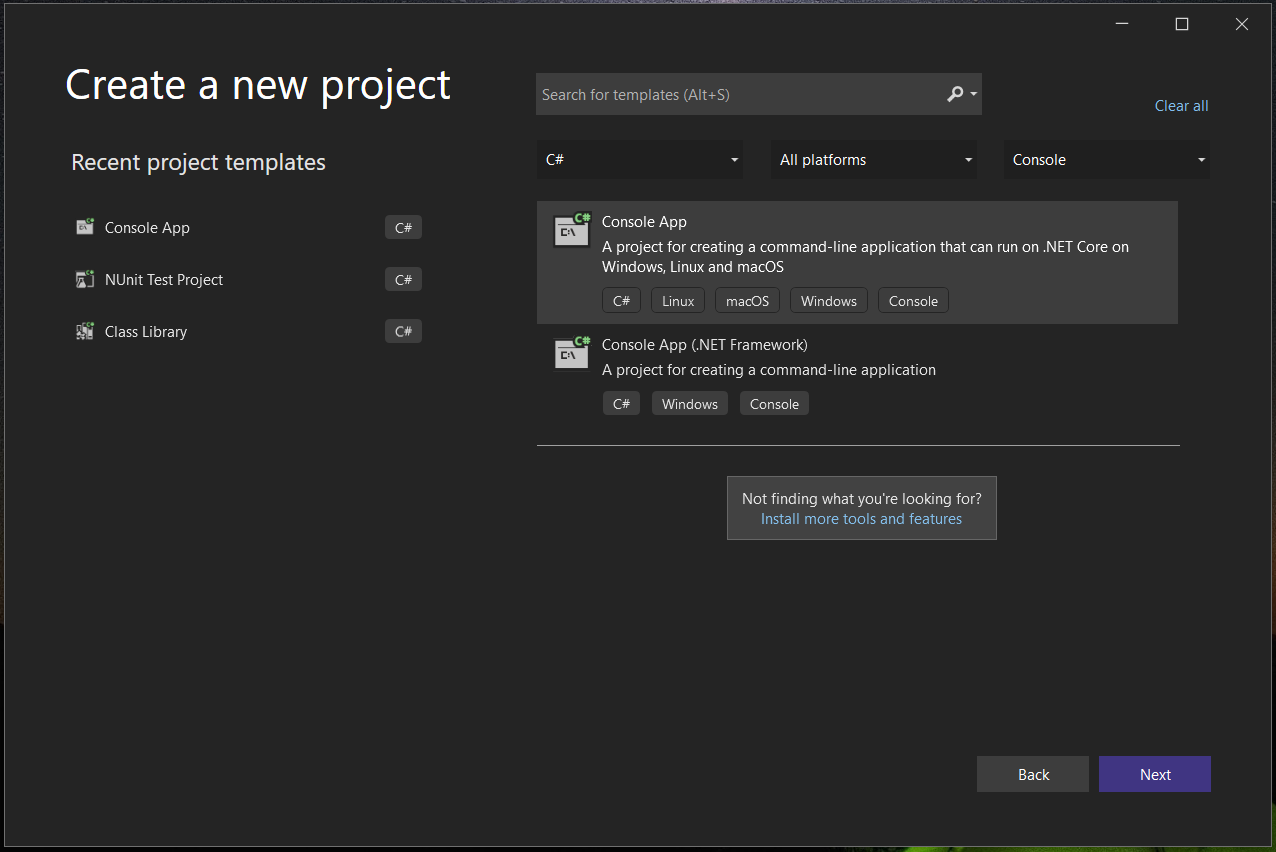
For this tutorial, choose TutorialSeeSharpApp.
Note
Although it is not mandatory, it is strongly recommended to use the indicated name. This would allow the code to be copy/pasted without adjustments.

Choose the desired framework. I will accepted the default option (.NET 6.0).
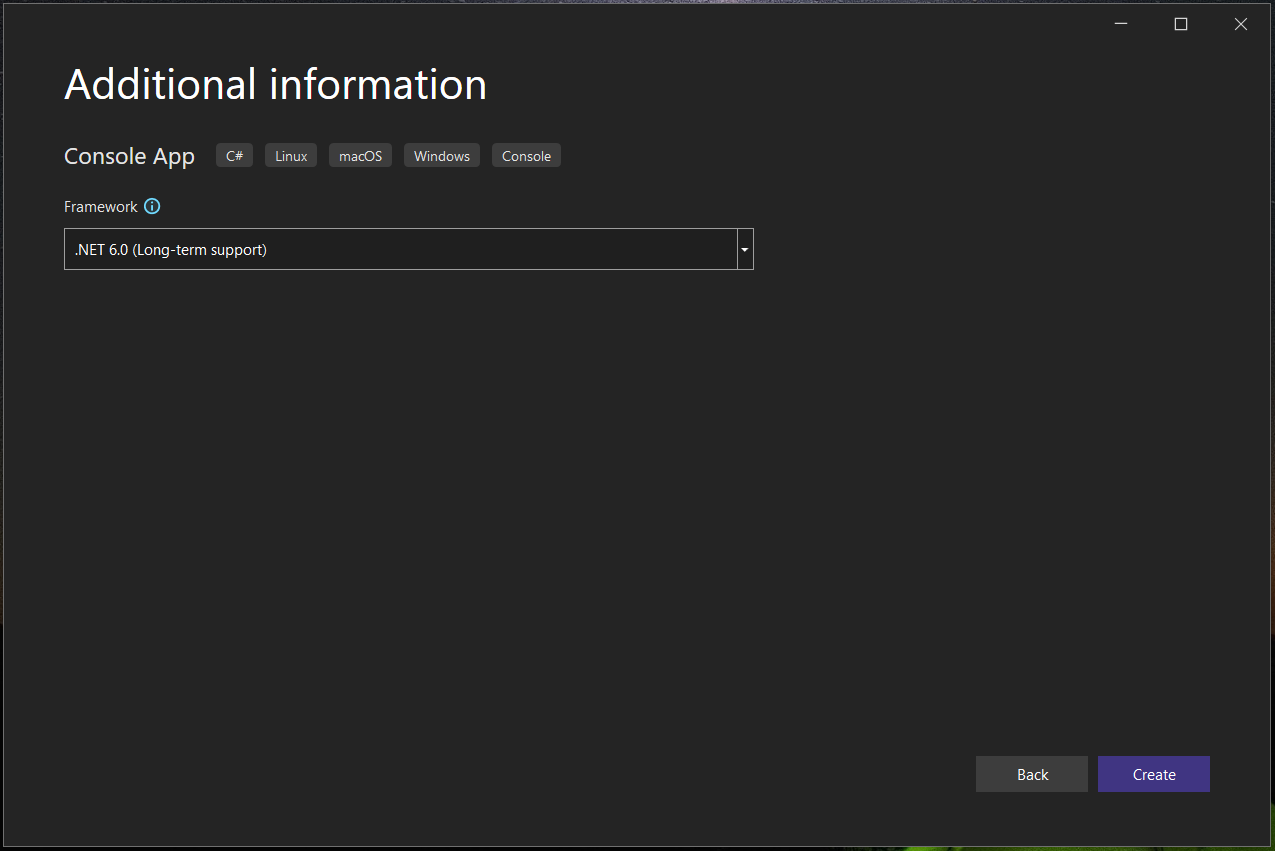
Pressing the Create button, as the setup is complete, the MS Visual Studio will open the project.
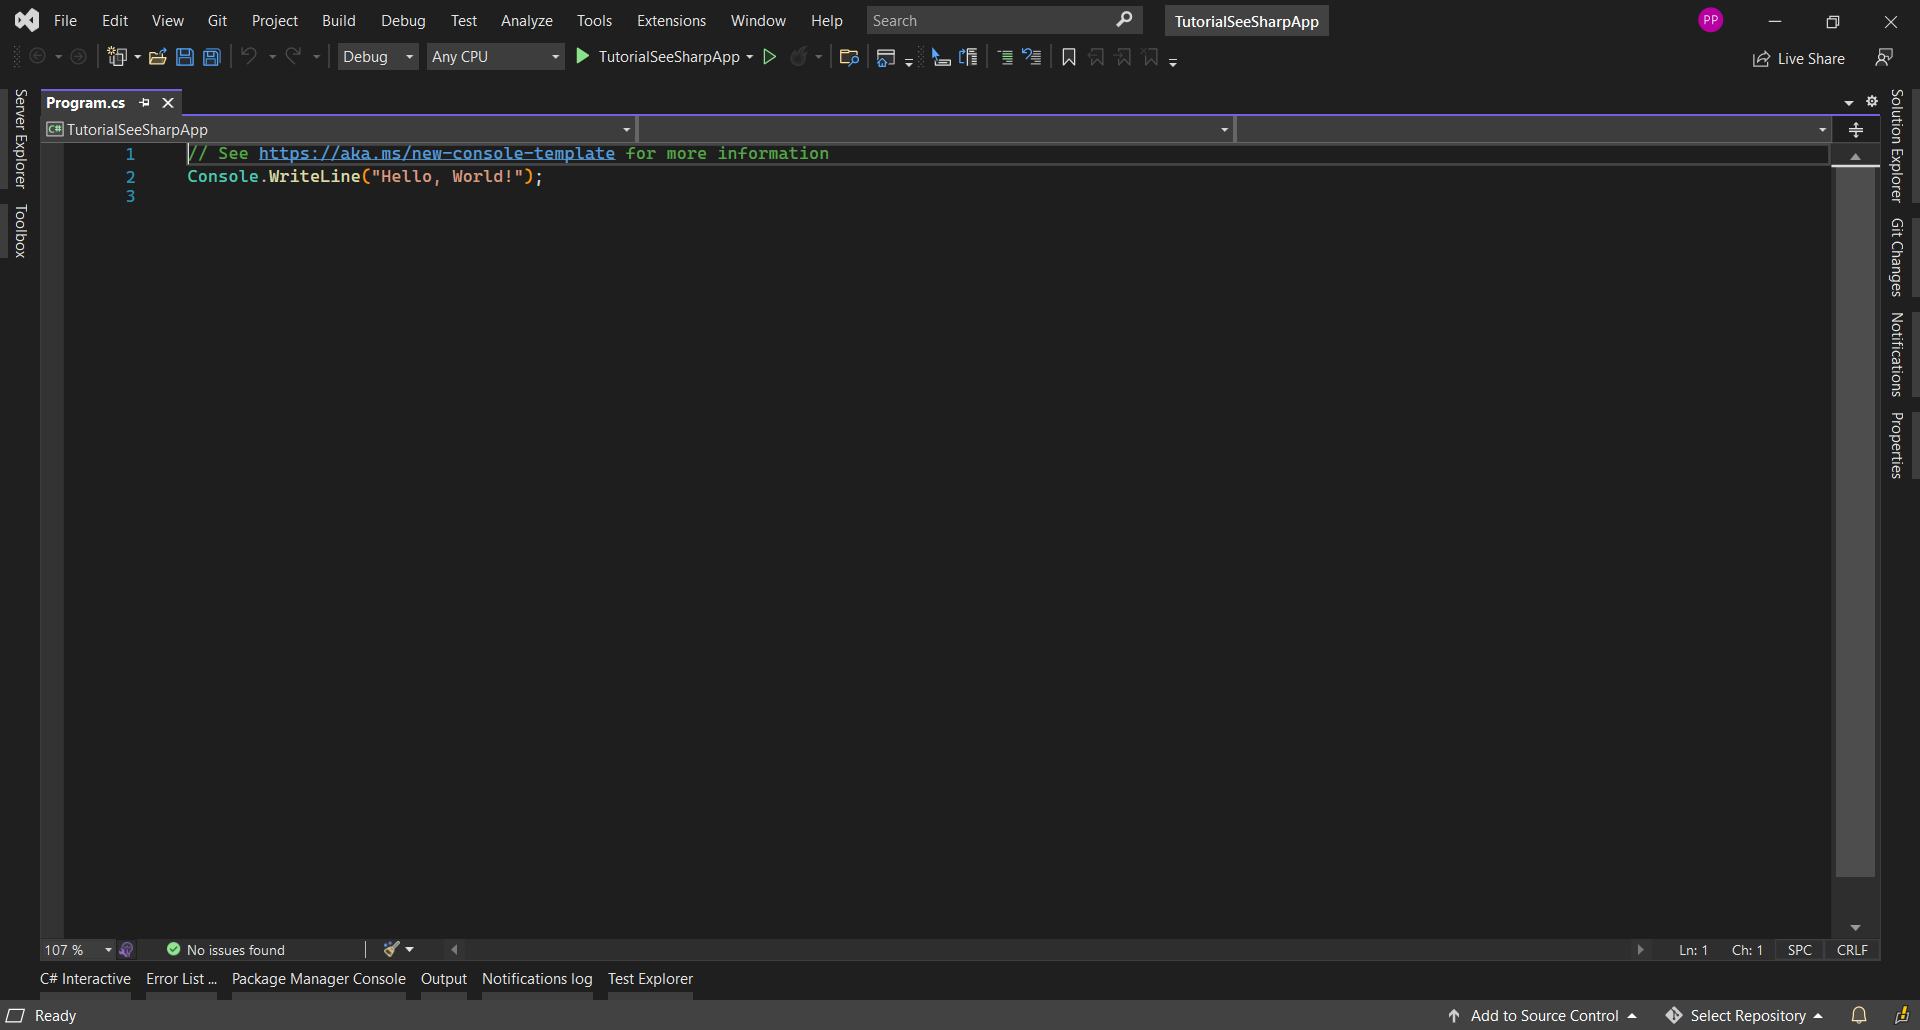
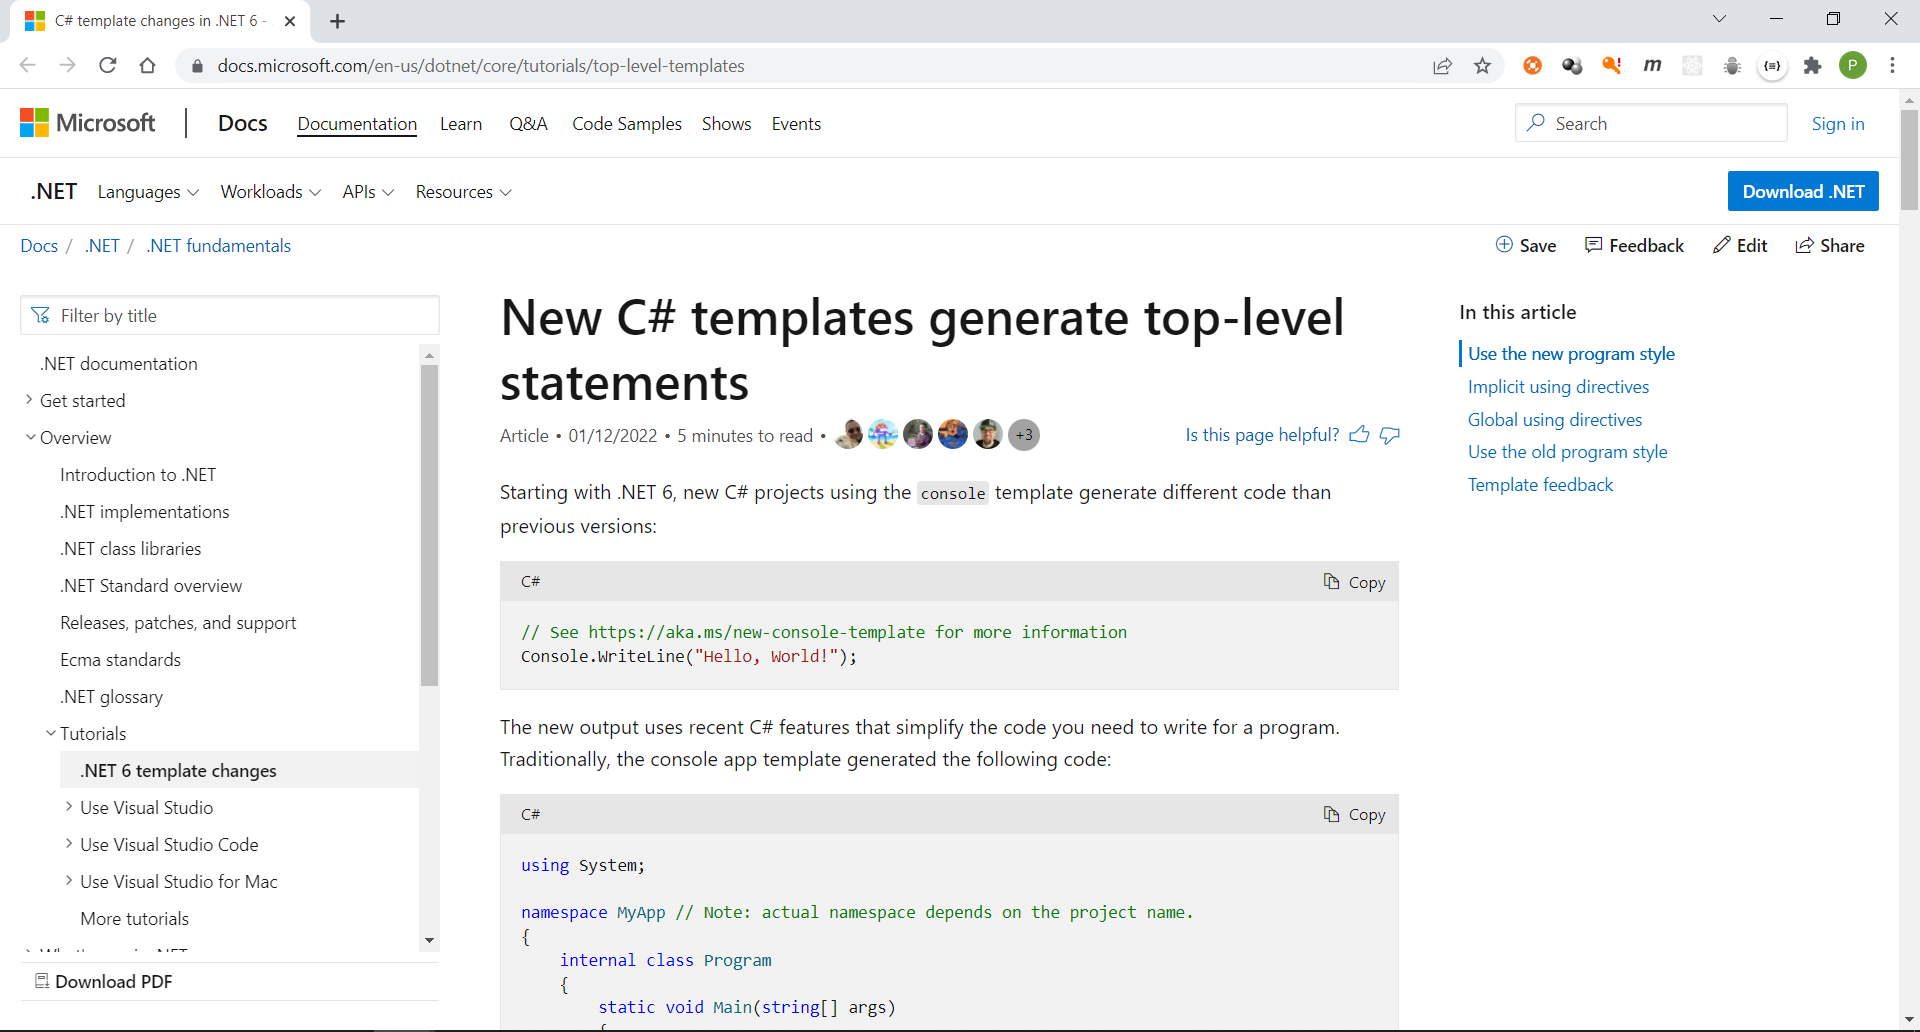
Create a full-fledged main class. Use the URL provided to obtain the code. Copy and paste it to replace the generated stub.
Change the name name of the namespace to match the name of the project (TutorialSeeSharpApp).
namespace TutorialSeeSharpApp
{
        internal class Program
        {
                static void Main(string[] args)
                {
                        Console.WriteLine("Hello World!");
                }
        }
}
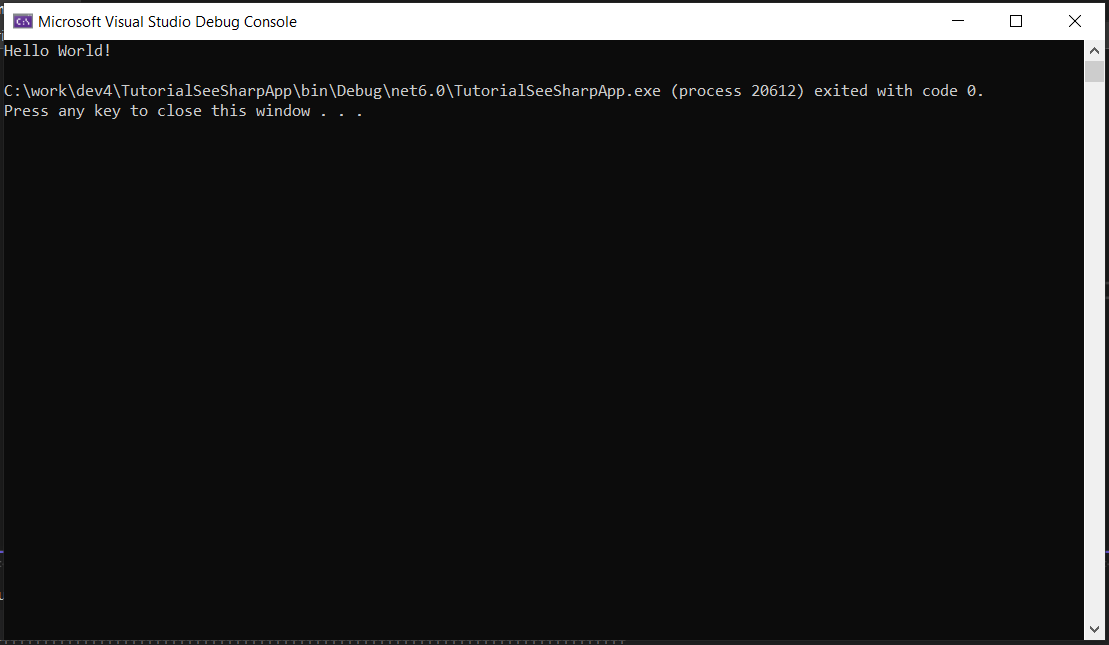
Run the program to verify that everything is fine.
Work with WASDI
Add the WasdiLib dependency to your application
Note
The code showed in this section can also be found on the dedicated public GitHub repository: https://github.com/wasdi-cloud/TutorialSeeSharpApp.
Find the WasdiLib on NuGet. Open a page in a browser and navigate to https://www.nuget.org/packages/WasdiLib.
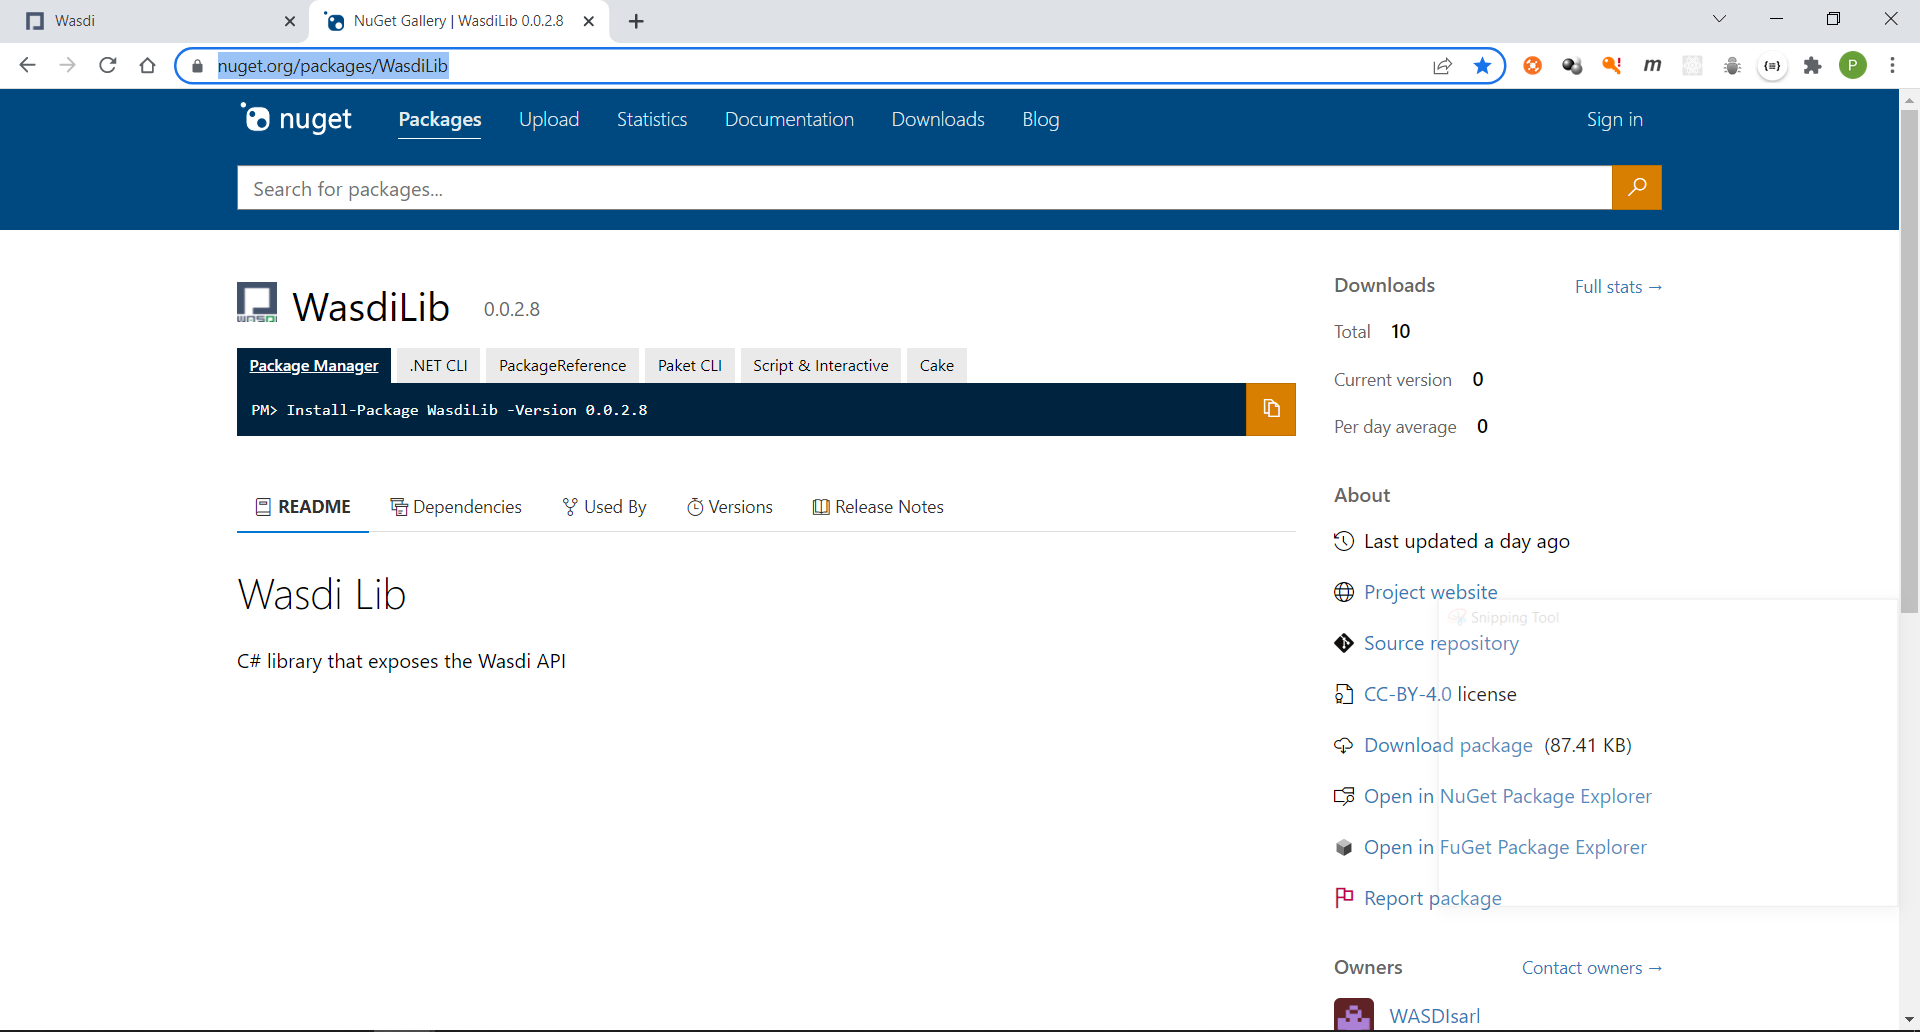
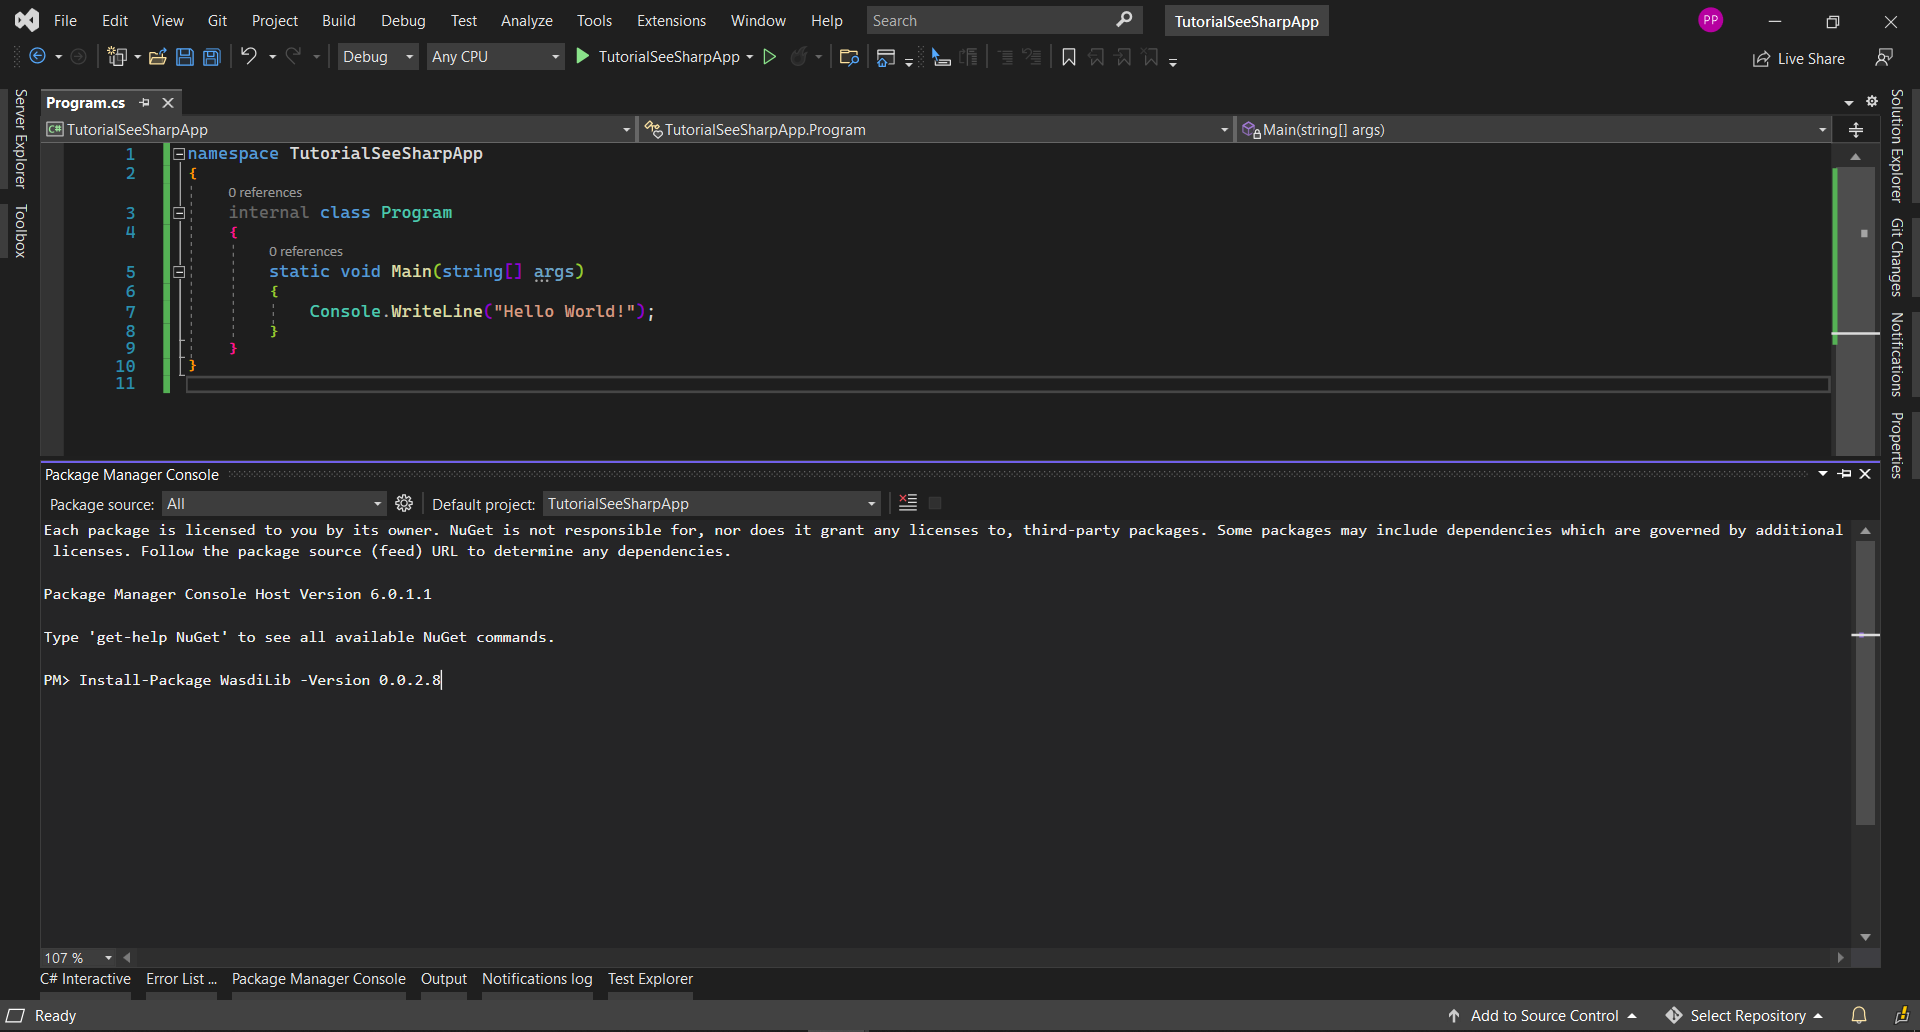
Copy the installation commad for the latest version (by pressing the orange button):
Install-Package WasdiLib -Version 0.0.3.5
Open the NuGet Package Manager console (Tools > NuGet Package Manager) and paste in the command just copied.
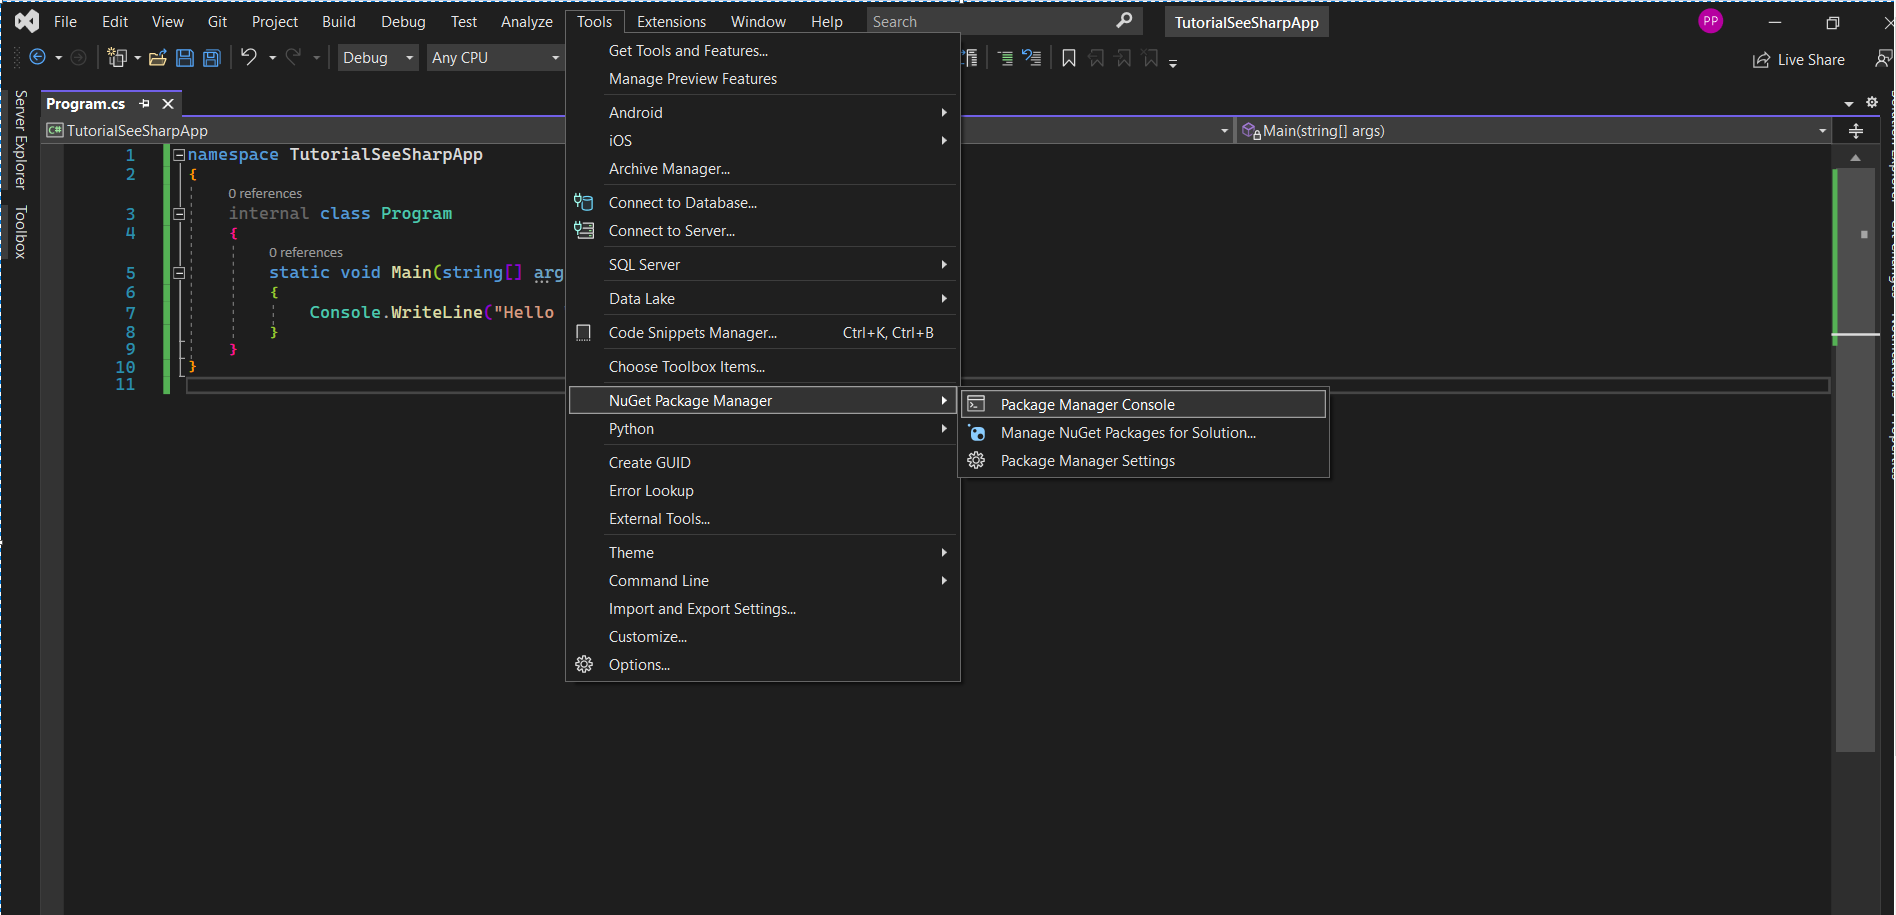
Install the WasdiLib as a dependency of your console application.
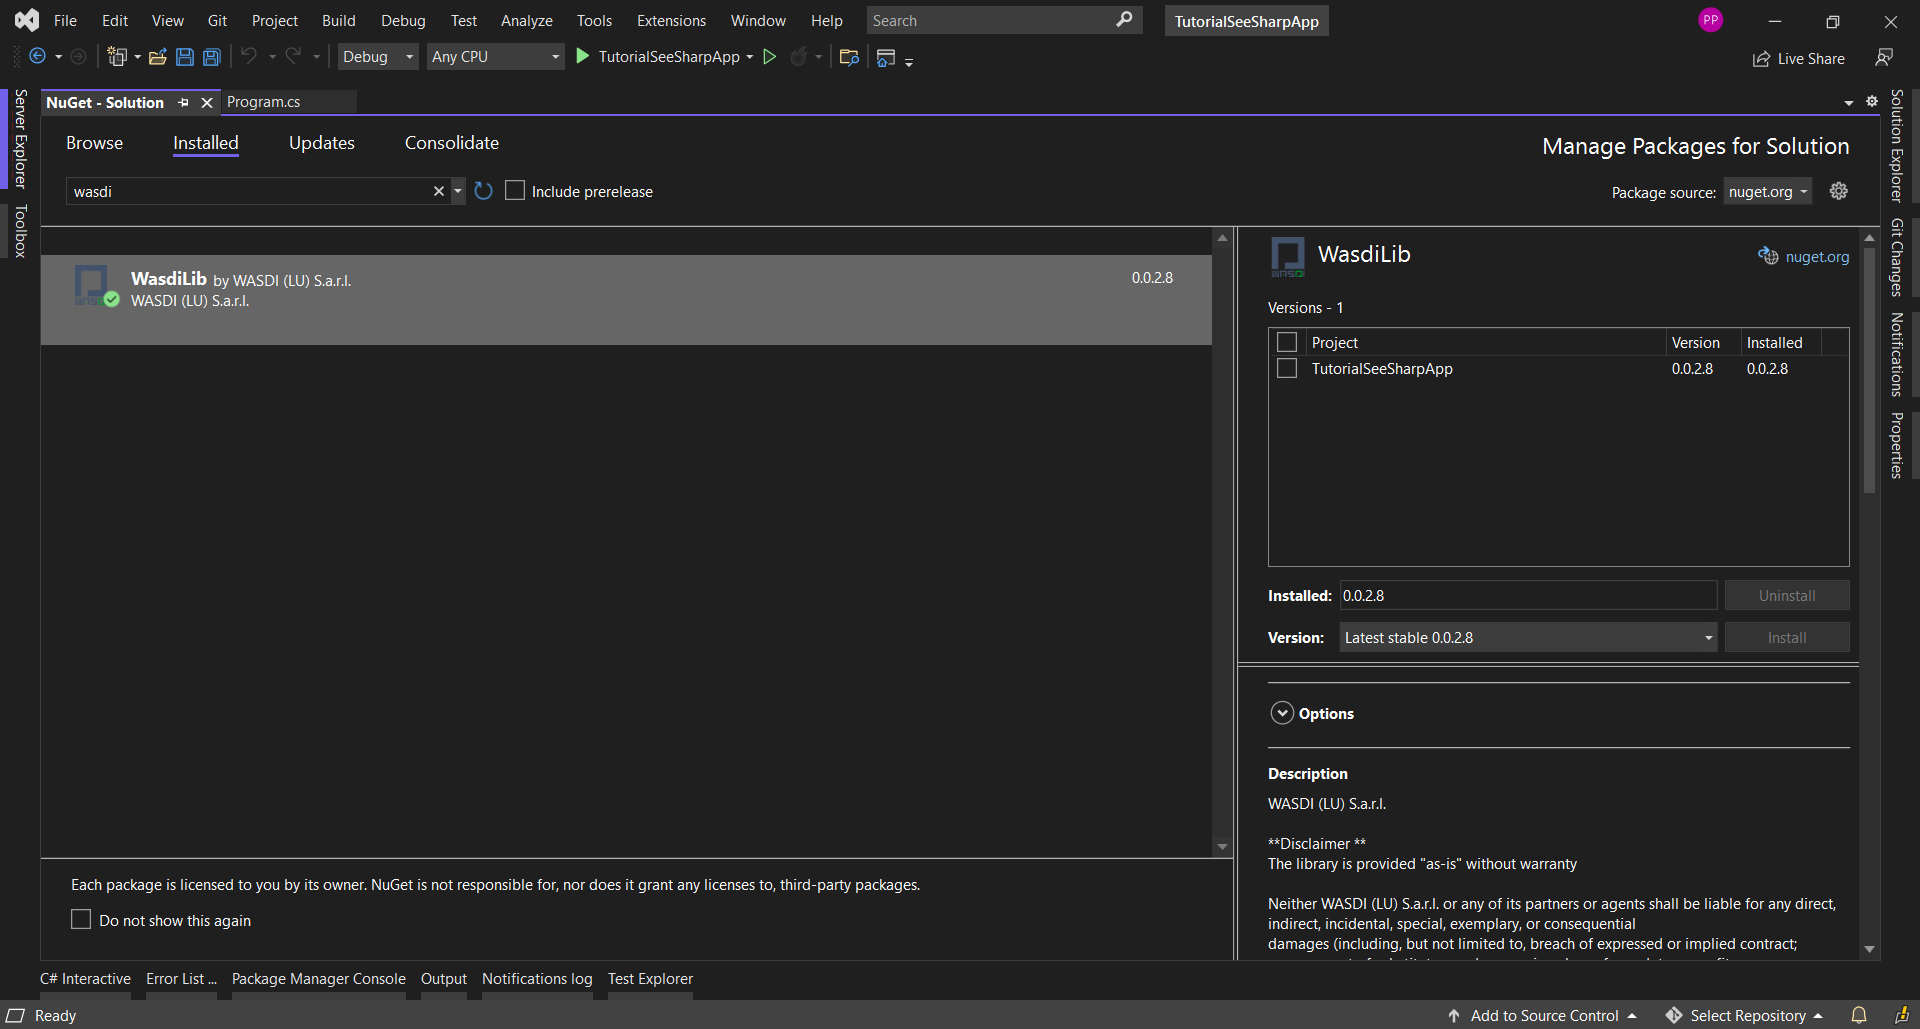
Alternatively, the WasdiLib can be installed through NuGet Package Manager (Tools > Manage NuGet Packages for Solution).
Create configuration files
Create appsettings.json
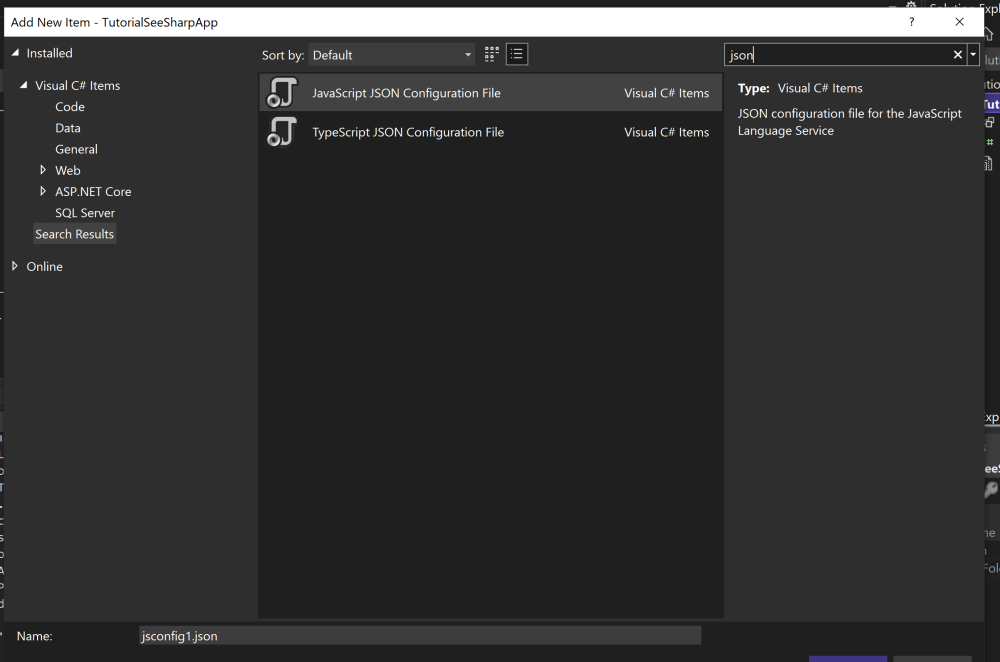
To add a file to the application, right click on the TutorialSeeSharpApp.
Select Add and then New Item.
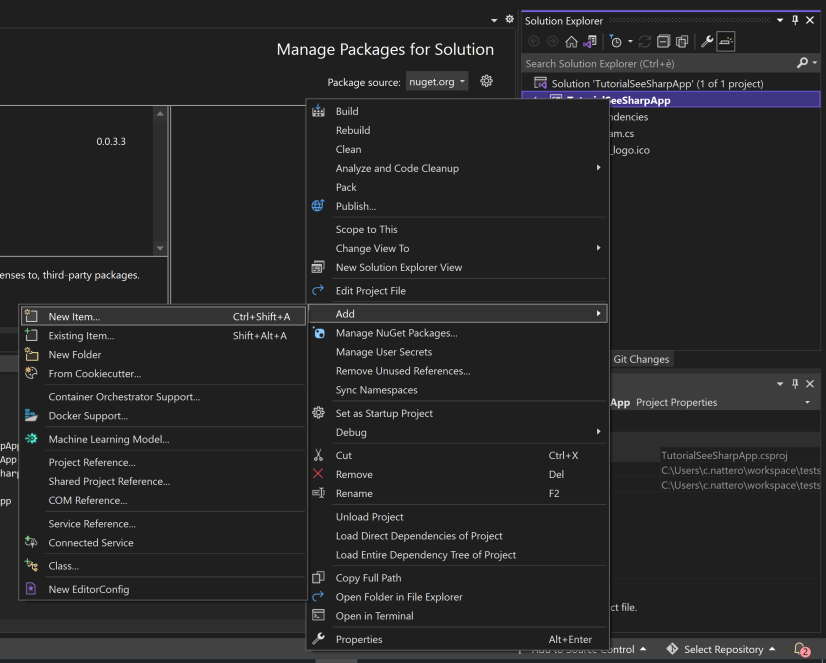
Select the type of file and input the name.
The appsettings.json file contains the information required to connect to the Wasdi server. In absence of such information, the library cannot connect to the server, in development mode. Once the application is deployed on the Wasdi server, it will obtain the required information from the user session. Therefore, for development use, please do not forget to input your credentials on the appsettings.json file.
{
  "USER": "your_username",
  "PASSWORD": "your_password",
  "BASEPATH=": "C:/temp/wasdi/",
  "BASEURL": "https://www.wasdi.net/wasdiwebserver/rest",
  "WORKSPACE": "TutorialWorkspace",
  "PARAMETERSFILEPATH": "./parameters.json"
}
Create parameters.json
The parameters.json file contains the information related to the operation conducted on the Wasdi server.
{
  "DATEFROM": "2020-01-01",
  "DATETO": "2020-01-31",
  "BBOX": "46.0,7.0,44.0,12.0",
  "WORKFLOW": "LISTSinglePreproc2"
}
Note
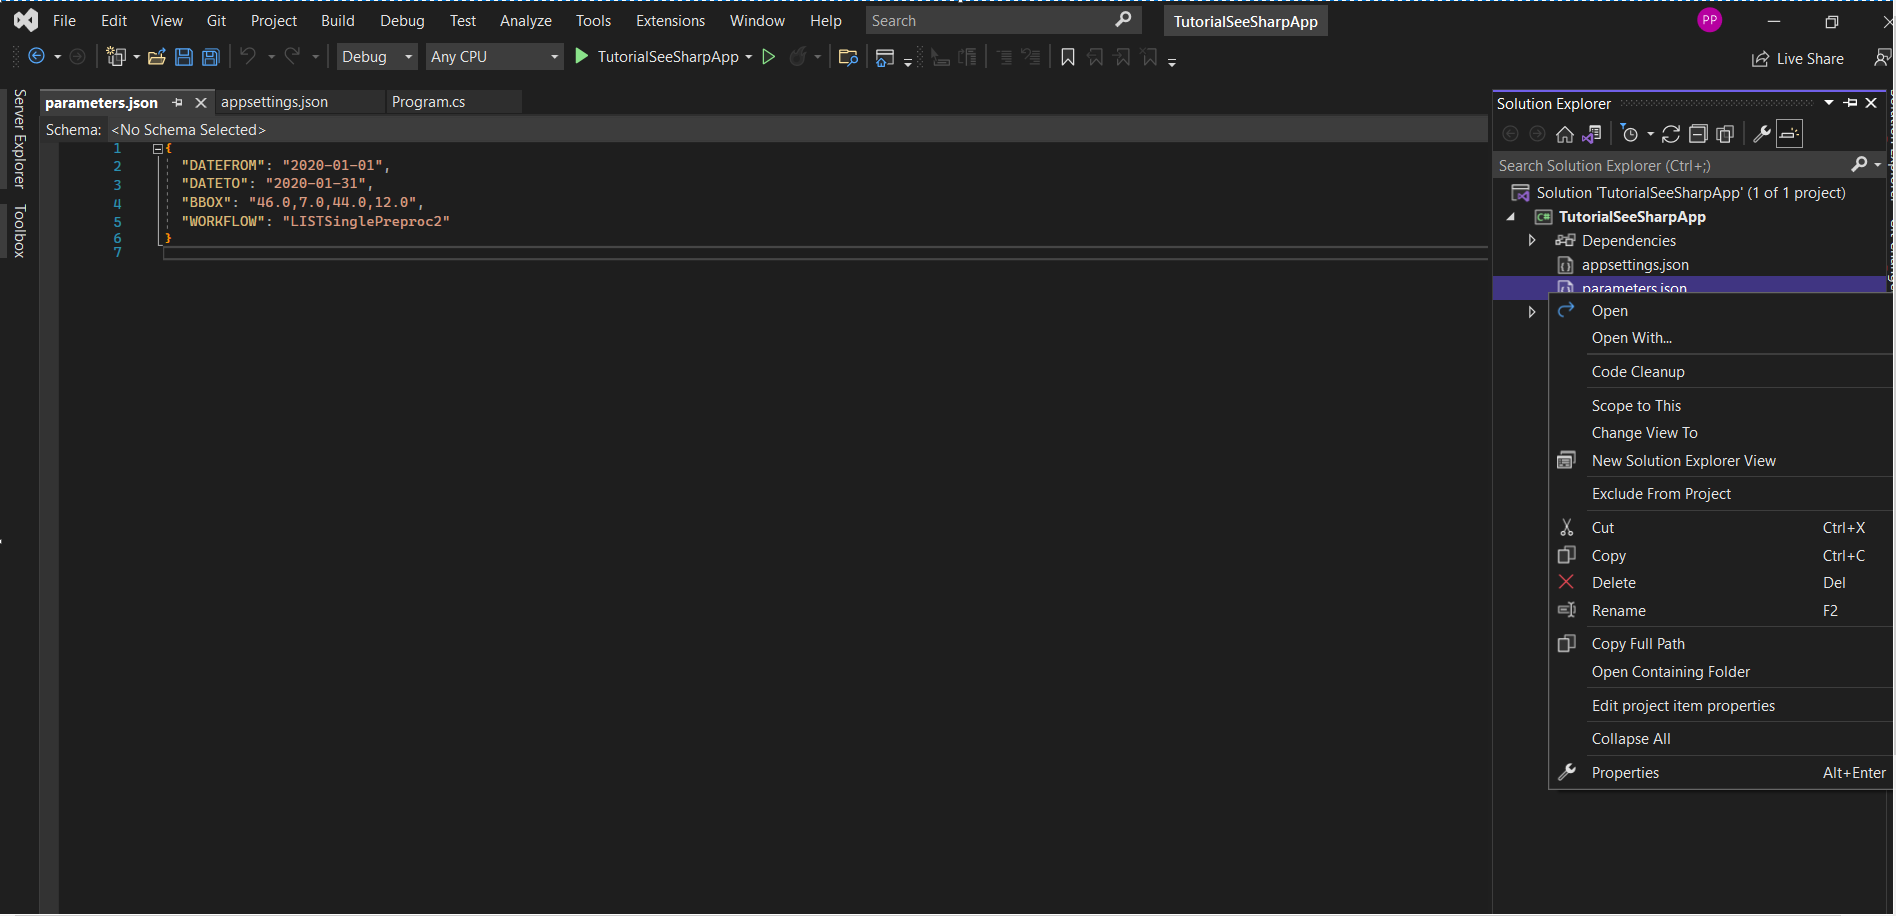
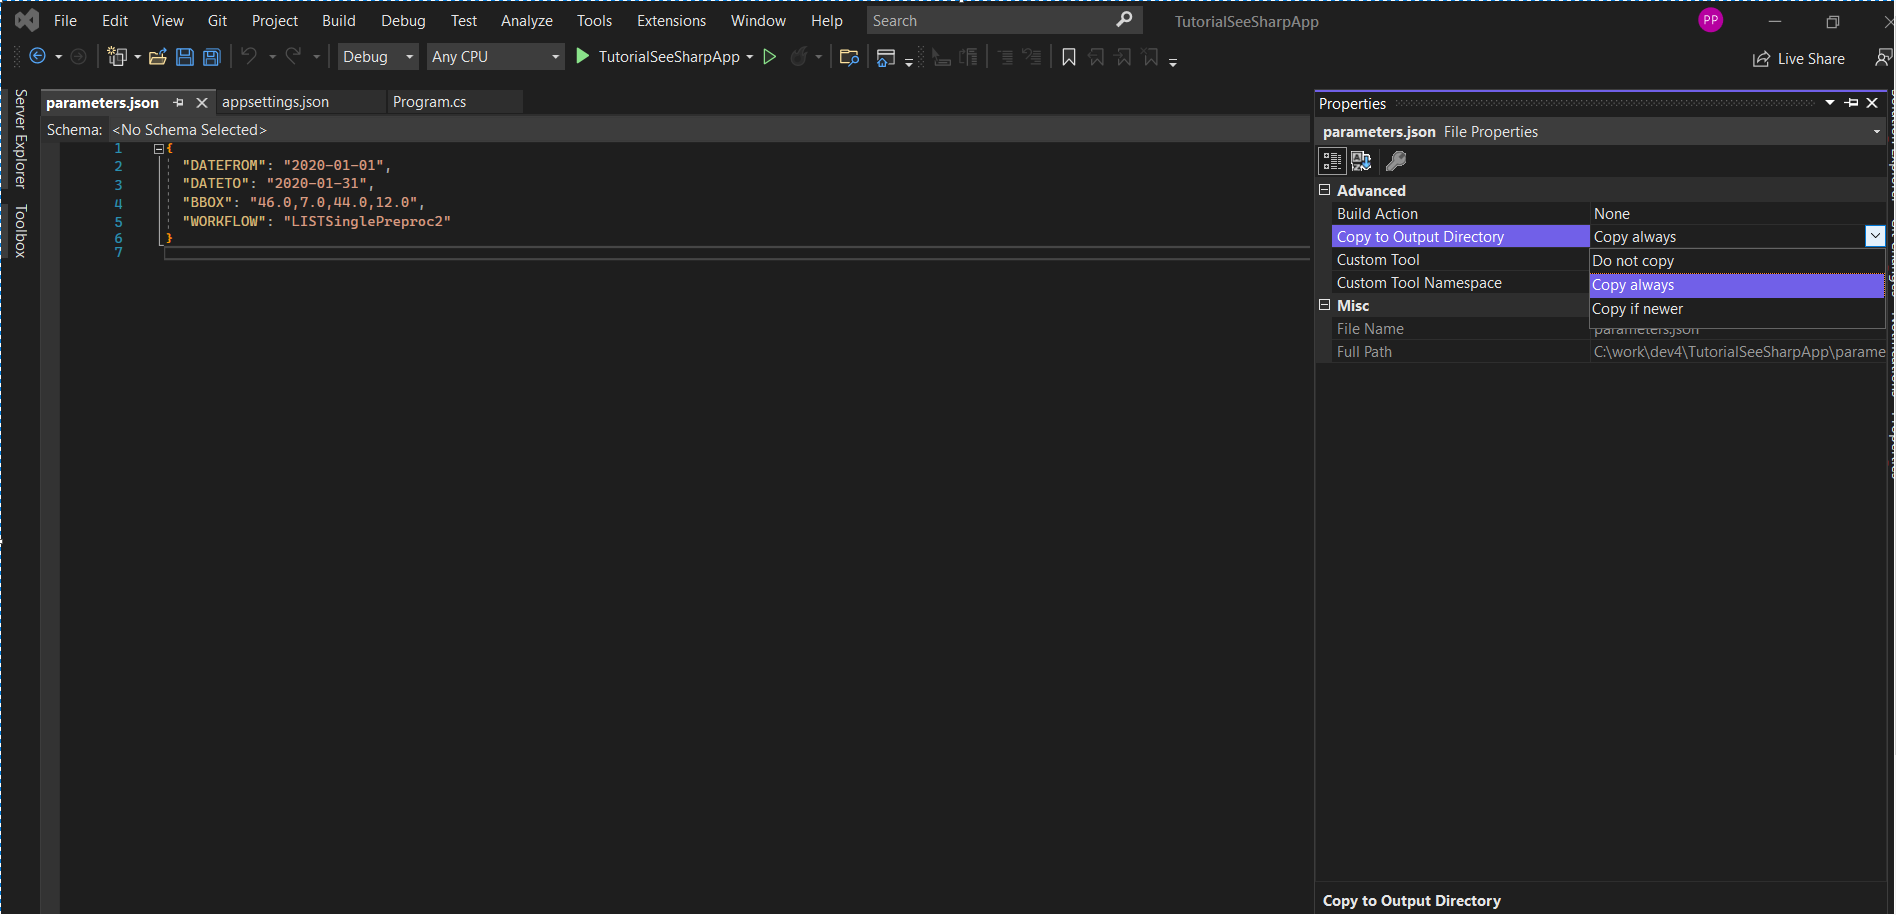
The properties of both these configuration files should be changed to trigger their copy each time the project is built.
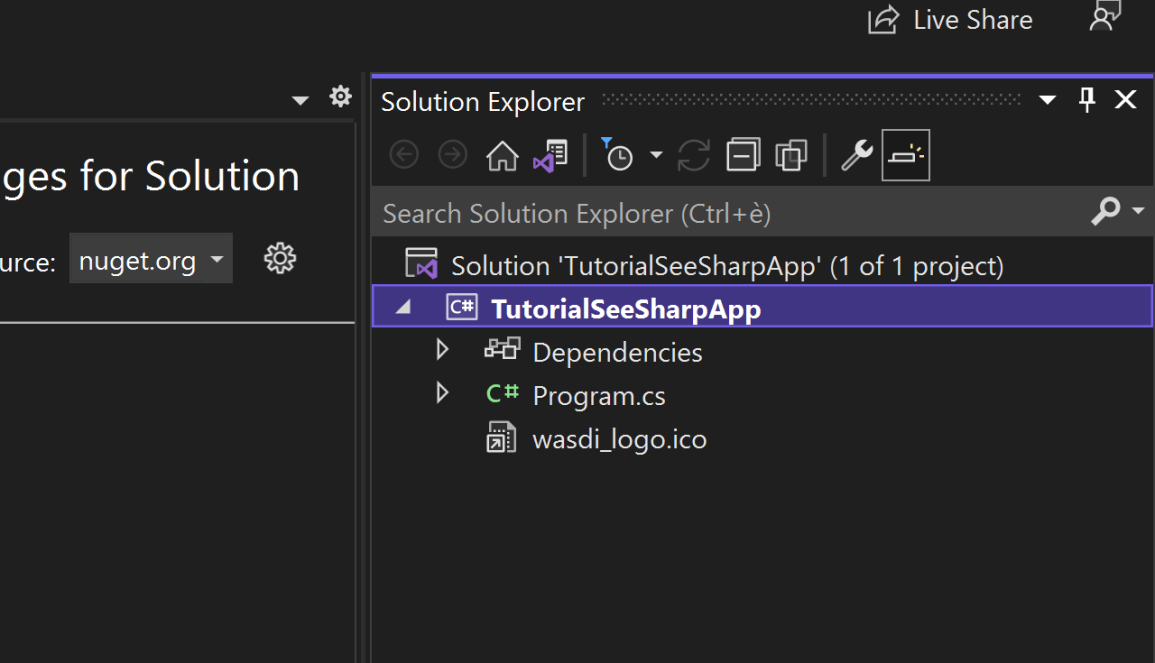
Repeat this procedure for both files (appsettings.json and parameters.json): On the right side-bar, click on Solution Explorer. Select the file, right-click on it, Select the last option, Properties.
On the Advanced section, change the value of the property Copy to output directory to Copy always.
Verify the setup
Call the /hello endpoint
The application can run locally as a stand-alone application (with a Main method). However, in order for the application to run on the Wasdi platform, the class must meet two conditions:
implement the IWasdiRunnable interface and override its Run method;
have a no-arg constructor (if the class does not have an explicit constructor, the compiler will add a default no-arg constructor at compile time);
Note
It is strongly recommended for the application to have the structure shown below.
To connect to the Wasdi server through the WasdiLib, an object of type Wasdi must be created and initialized in the Main method and passed as an argument to the Run method. The verbosity of the logging mechanism could be increased, in order to see on the console the result.
The actual call to the Wasdi object should be done either form inside the Run method or from any other method called by Run.
using WasdiLib;

namespace TutorialSeeSharpApp
{
        internal class Program : IWasdiRunnable
        {
                static void Main(string[] args)
                {
                        Wasdi wasdi = new();
                        wasdi.Init();
                        wasdi.SetVerbose(true);

                        Program program = new Program();
                        program.Run(wasdi);
                }

                public void Run(Wasdi wasdi)
                {
                        wasdi.WasdiLog(wasdi.Hello());
                }
        }
}
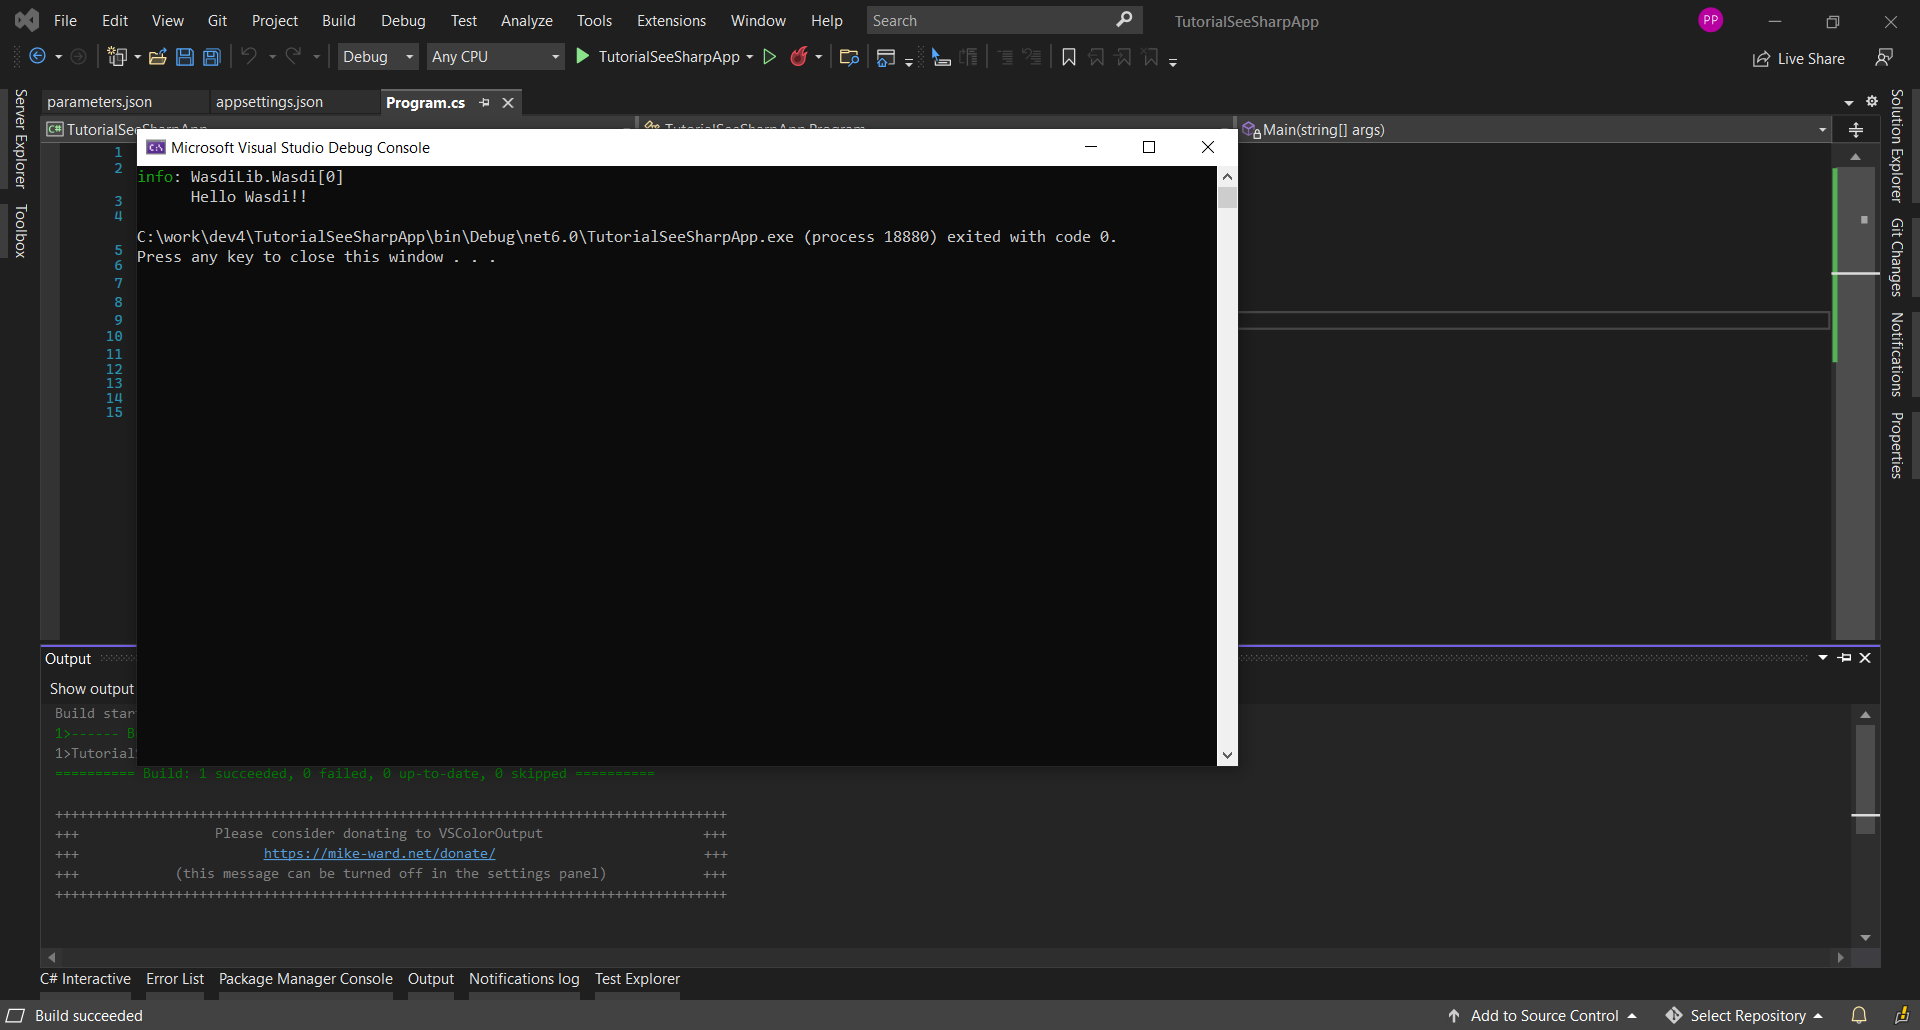
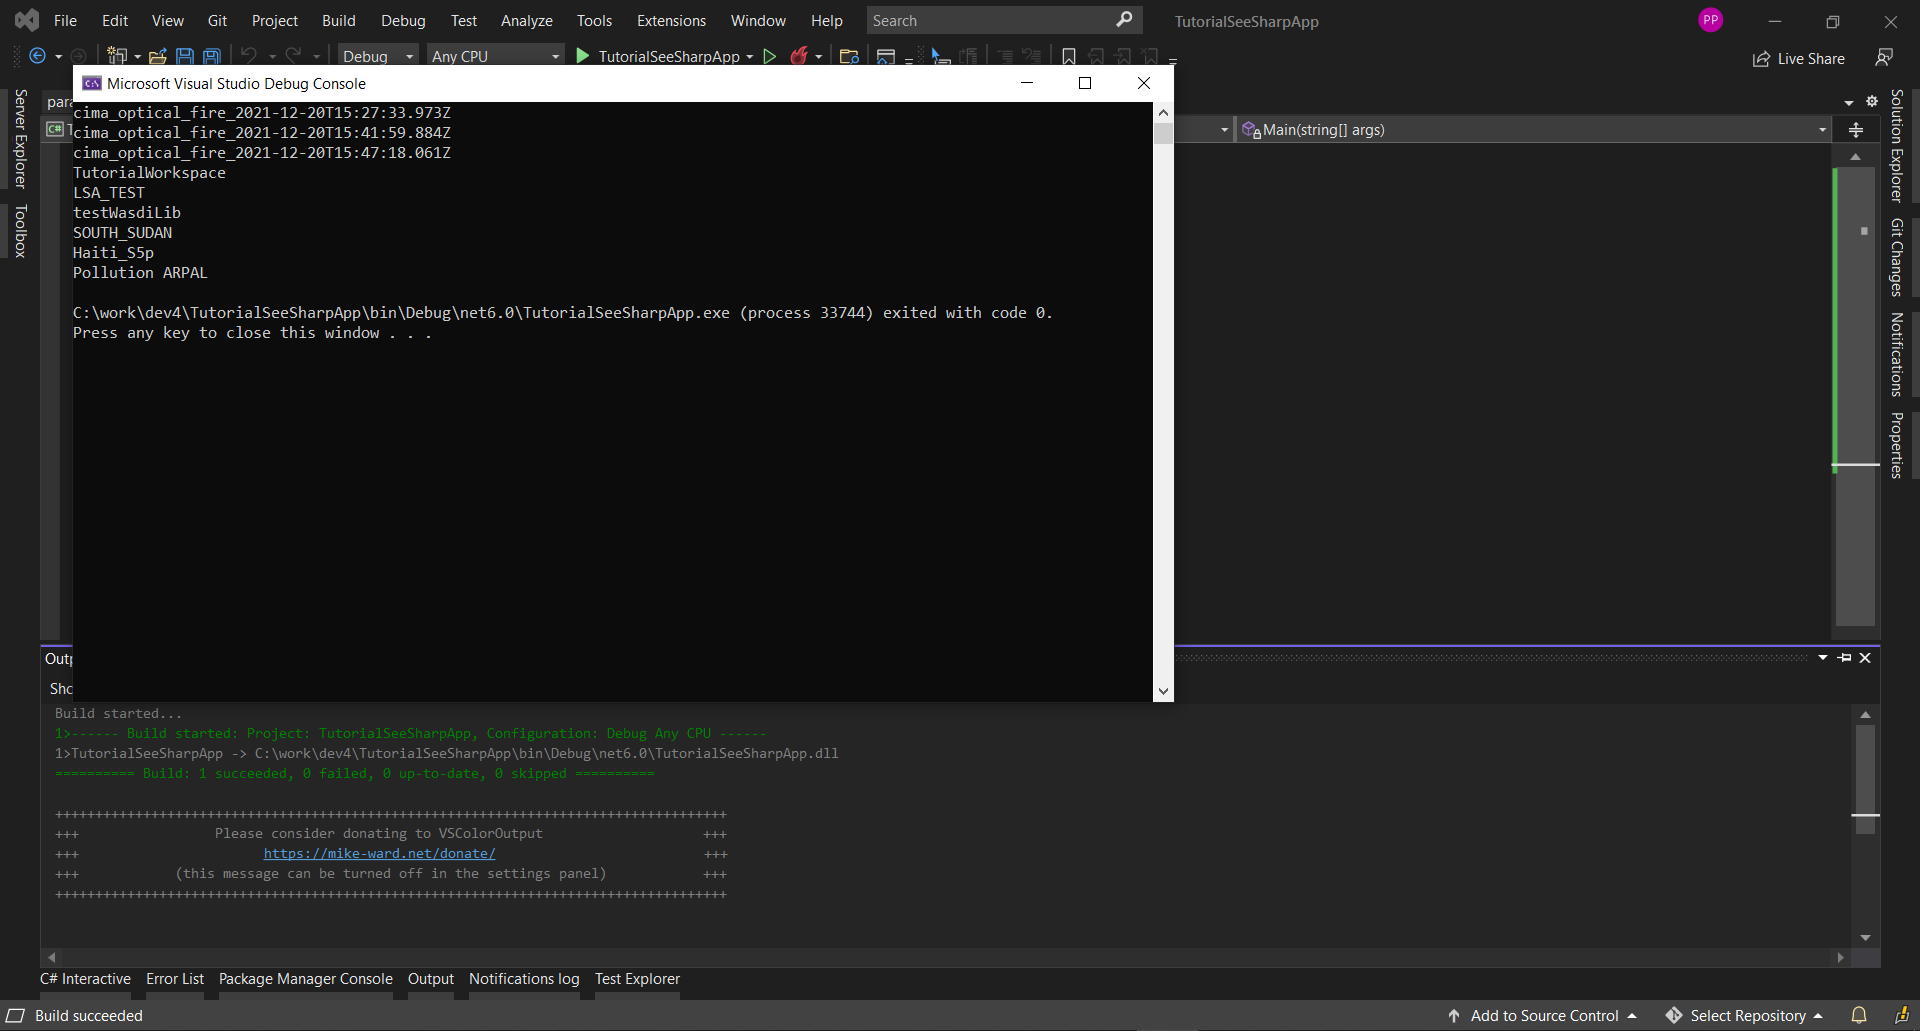
The outcome of running the program locally is a console window showing the Wasdi greeting.
Note
The procedure to deploy the application on the WASDI platform is described later in this tutorial.
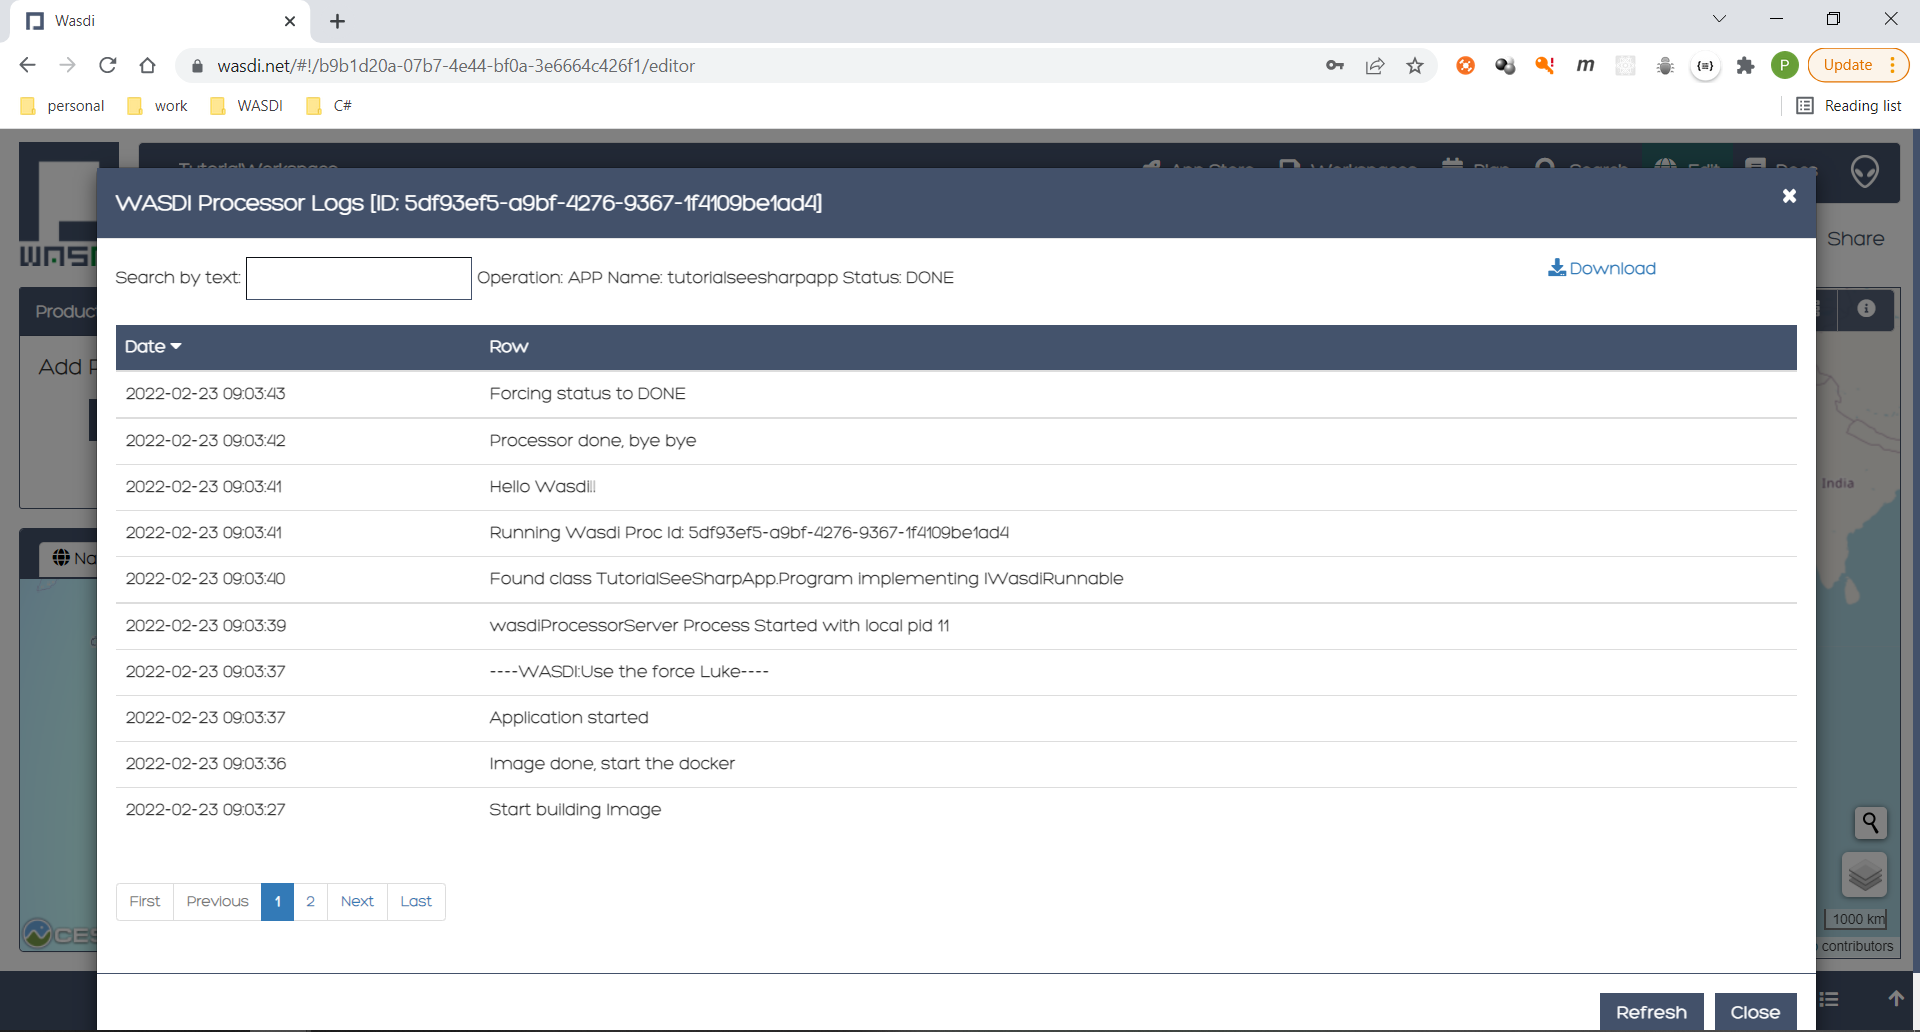
Running the same program on the Wasdi platform produces the following outcome.
Get the user’s workspaces’ names
The following program retrieves the names of the workspaces that the user has access to. An user can access a workspace either if the workspace was created by the user or if the workspace was shared by another user.
using WasdiLib;

namespace TutorialSeeSharpApp
{
        internal class Program : IWasdiRunnable
        {
                static void Main(string[] args)
                {
                        Wasdi wasdi = new();
                        wasdi.Init();
                        wasdi.SetVerbose(true);

                        Program program = new Program();
                        program.Run(wasdi);
                }

                public void Run(Wasdi wasdi)
                {
                        GetWorkspacesNames(wasdi);
                }

                private static void GetWorkspacesNames(Wasdi wasdi)
                {
                        wasdi.WasdiLog("GetWorkspacesNames():");

                        List<string> workspacesNames = wasdi.GetWorkspacesNames();

                        foreach (string workspaceName in workspacesNames)
                        {
                                wasdi.WasdiLog(workspaceName);
                        }
                }
        }
}
Runnig the program locally should show in the console the list of workspaces’ names. At least TutorialWorkspace should be present.
Note
The procedure to deploy the application on the WASDI platform is described later in this tutorial.
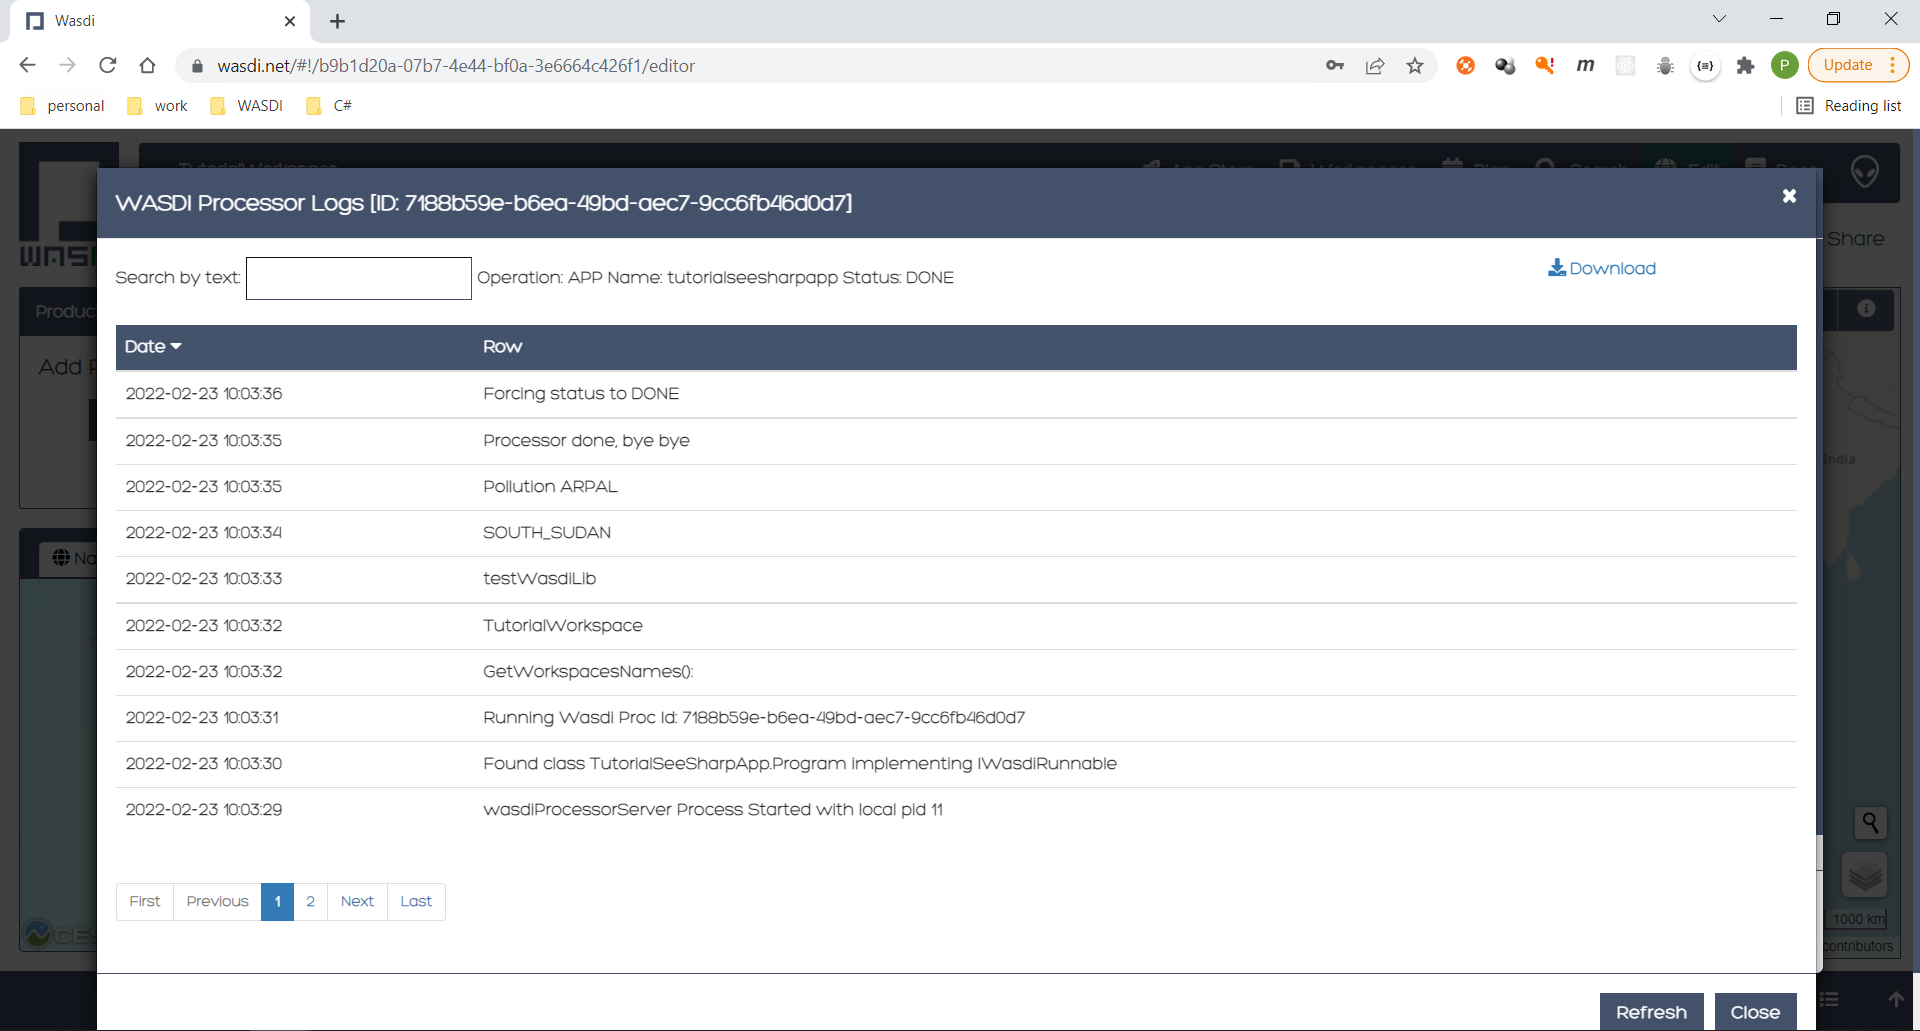
Running the same program on the Wasdi platform produces the following outcome.
Running the new C# application on Wasdi platform
It’s great to have the application running locally but the end-goal is to have the application running on Wasdi server.
Writing the application
In order to see the application producing some effects, two operations are triggerred: the execution of an workflow and the execution of a processor.
using WasdiLib;
using WasdiLib.Models;

namespace TutorialSeeSharpApp
{
        internal class Program : IWasdiRunnable
        {
                static void Main(string[] args)
                {
                        Wasdi wasdi = new();
                        wasdi.Init();
                        wasdi.SetVerbose(true);

                        Program program = new Program();
                        program.Run(wasdi);

                        UpdateStatus(wasdi);
                }

                public void Run(Wasdi wasdi)
                {
                        RunExecuteWorkflow(wasdi);

                        RunExecuteProcessor(wasdi);
                }

                private static void RunExecuteWorkflow(Wasdi wasdi)
                {
                        string sStartDate = wasdi.GetParam("DATEFROM");
                        string sEndDate = wasdi.GetParam("DATETO");
                        string sBbox = wasdi.GetParam("BBOX");
                        string sWorkflow = wasdi.GetParam("WORKFLOW");

                        double dLatN = 44.0;
                        double dLonW = 35.0;
                        double dLatS = 45.0;
                        double dLonE = 36.0;

                        if (sBbox != null)
                        {
                                String[] asLatLons = sBbox.Split(',');
                                dLatN = Double.Parse(asLatLons[0]);
                                dLonW = Double.Parse(asLatLons[1]);
                                dLatS = Double.Parse(asLatLons[2]);
                                dLonE = Double.Parse(asLatLons[3]);
                        }

                        wasdi.WasdiLog("Start searching images");
                        List<QueryResult> aoResults = wasdi.SearchEOImages("S1", sStartDate, sEndDate, dLatN, dLonW, dLatS, dLonE, "GRD", null, null, null);
                        wasdi.WasdiLog("Found " + aoResults.Count + " Images");

                        if (aoResults.Count > 0)
                        {
                                wasdi.ImportProduct(aoResults[0]);

                                List<string> asInputs = new List<string>();
                                asInputs.Add(aoResults[0].Title + ".zip");

                                List<string> asOutputs = new List<string>();
                                asOutputs.Add("preprocessed.tif");

                                wasdi.ExecuteWorkflow(asInputs, asOutputs, sWorkflow);
                        }
                        wasdi.WasdiLog("FINISHED");
                }

                private static void RunExecuteProcessor(Wasdi wasdi)
                {

                        // call another app: HelloWasdiWorld
                        Dictionary<string, object> dictionary = new Dictionary<string, object>()
                                                { { "name", wasdi.GetUser() } };

                        wasdi.ExecuteProcessor("HelloWasdiWorld", dictionary);
                }

                private static void UpdateStatus(Wasdi wasdi)
                {
                        wasdi.WasdiLog("UpdateStatus:");
                        string sStatus = "DONE";
                        int iPerc = 100;
                        wasdi.UpdateStatus(sStatus, iPerc);
                }
        }
}
Note
For applications that require heavy processing, it is recommended not to run locally but exclusively on the WASDI platform.
Packaging the application
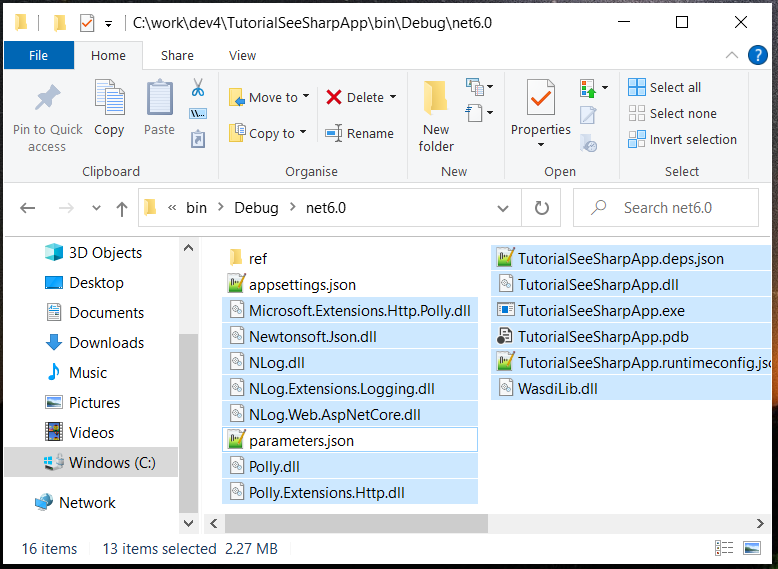
To export the application, zip the content of the \bin\Debug\net6.0 directory, except for the configuration files (appsettings.json and parameters.json) and the ref directory. The zip archive should share the name of the application, in my case TutorialSeeSharpApp.zip.
Deploying the application
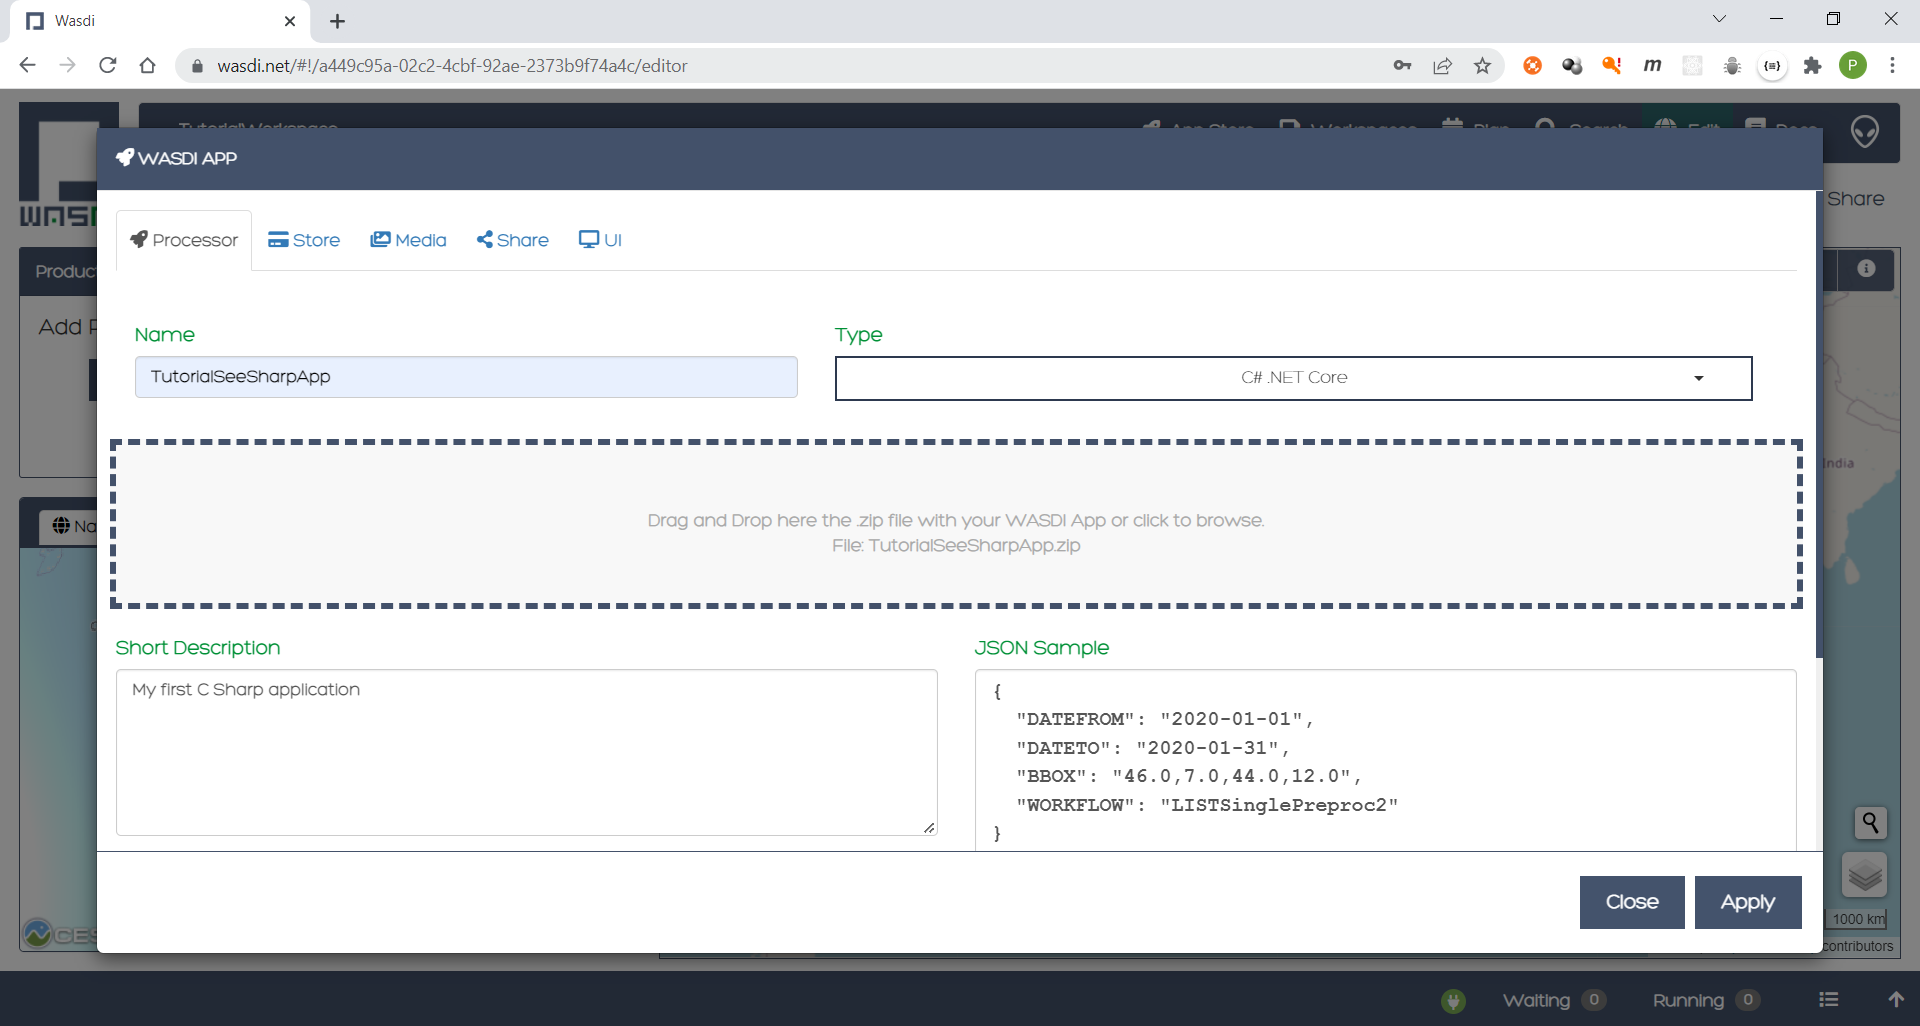
Back on the Wasdi web-application, create a new application by pressing the New App button.
On the page that opens, fill in the details of the application, as shown in the image below.
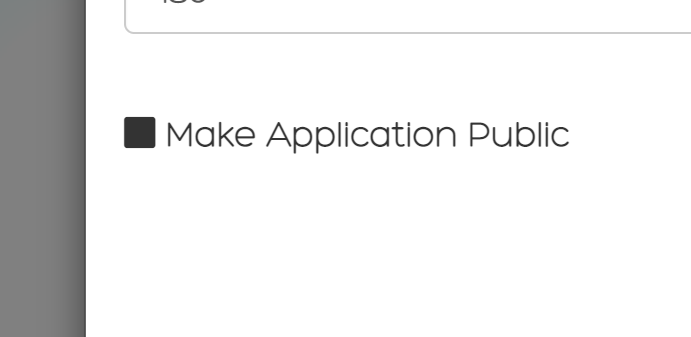
Until the application is ready to be exposed to the public, the Make Application Public checkbox could be unchecked. To find this checkbox, scroll down to the bottom of the page.
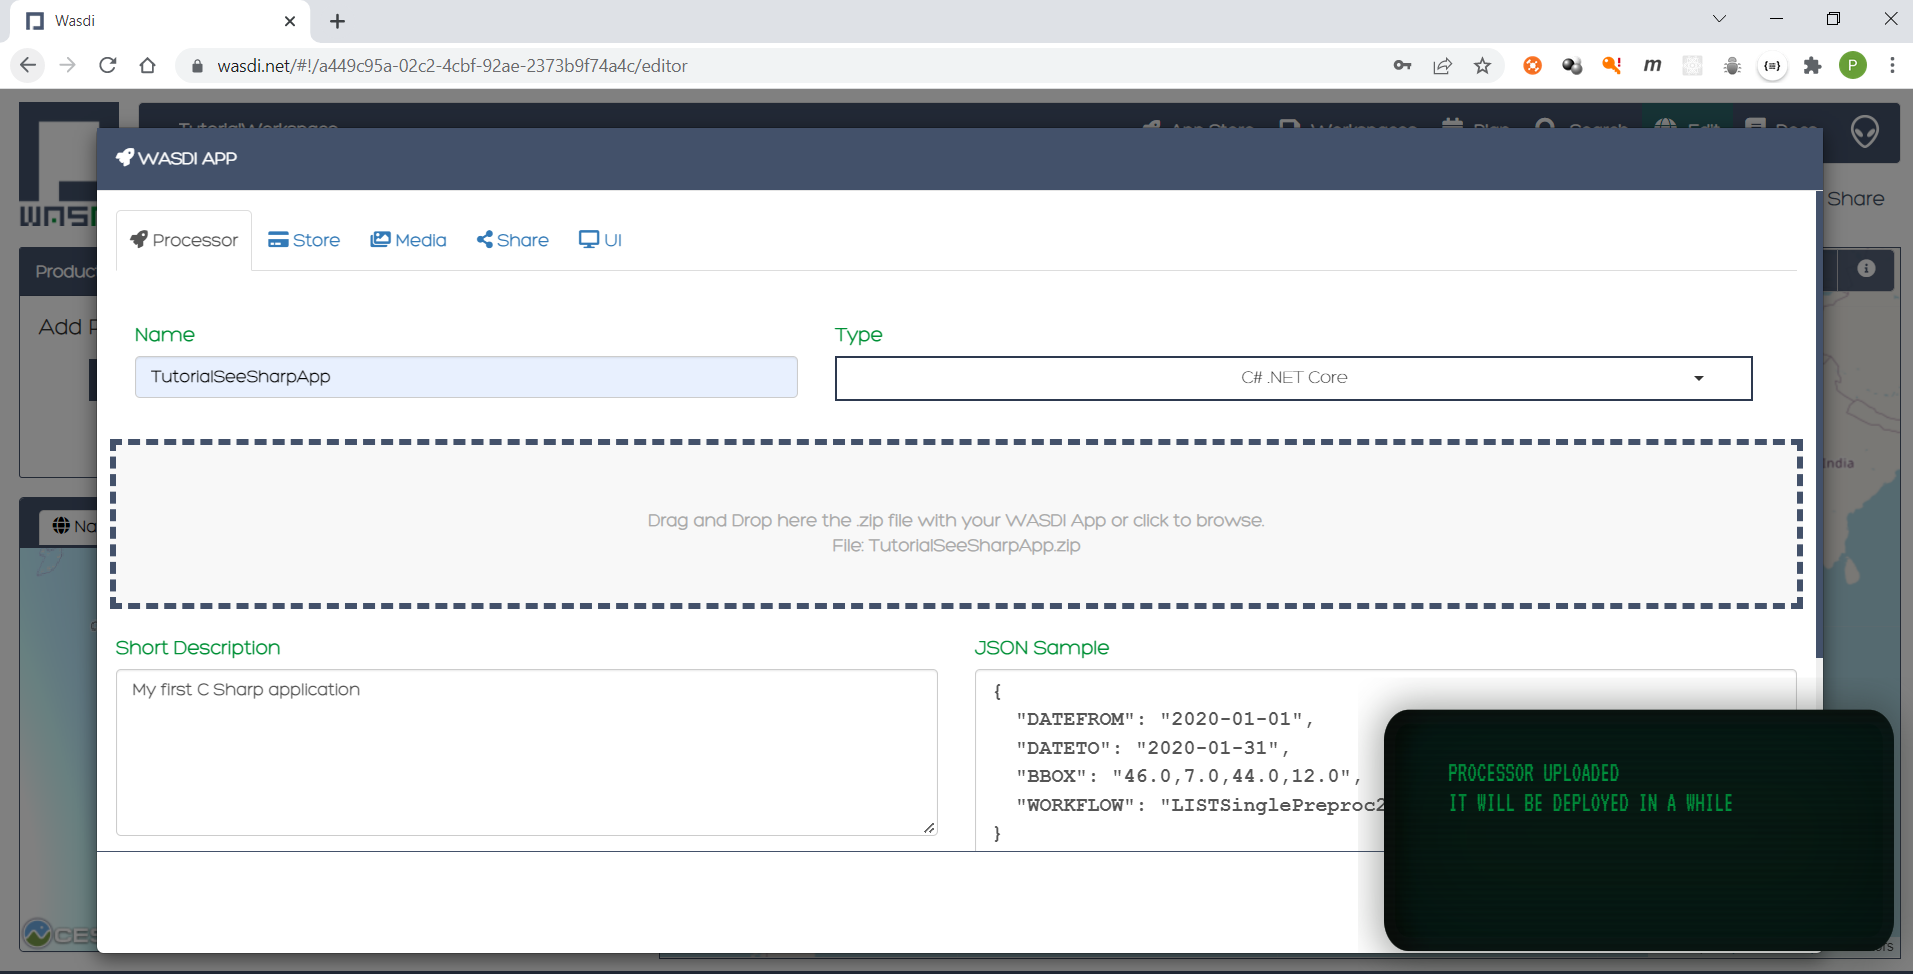
A message will be shown to inform the user that the application (processor) will be deployed shortly.
Viewing the application
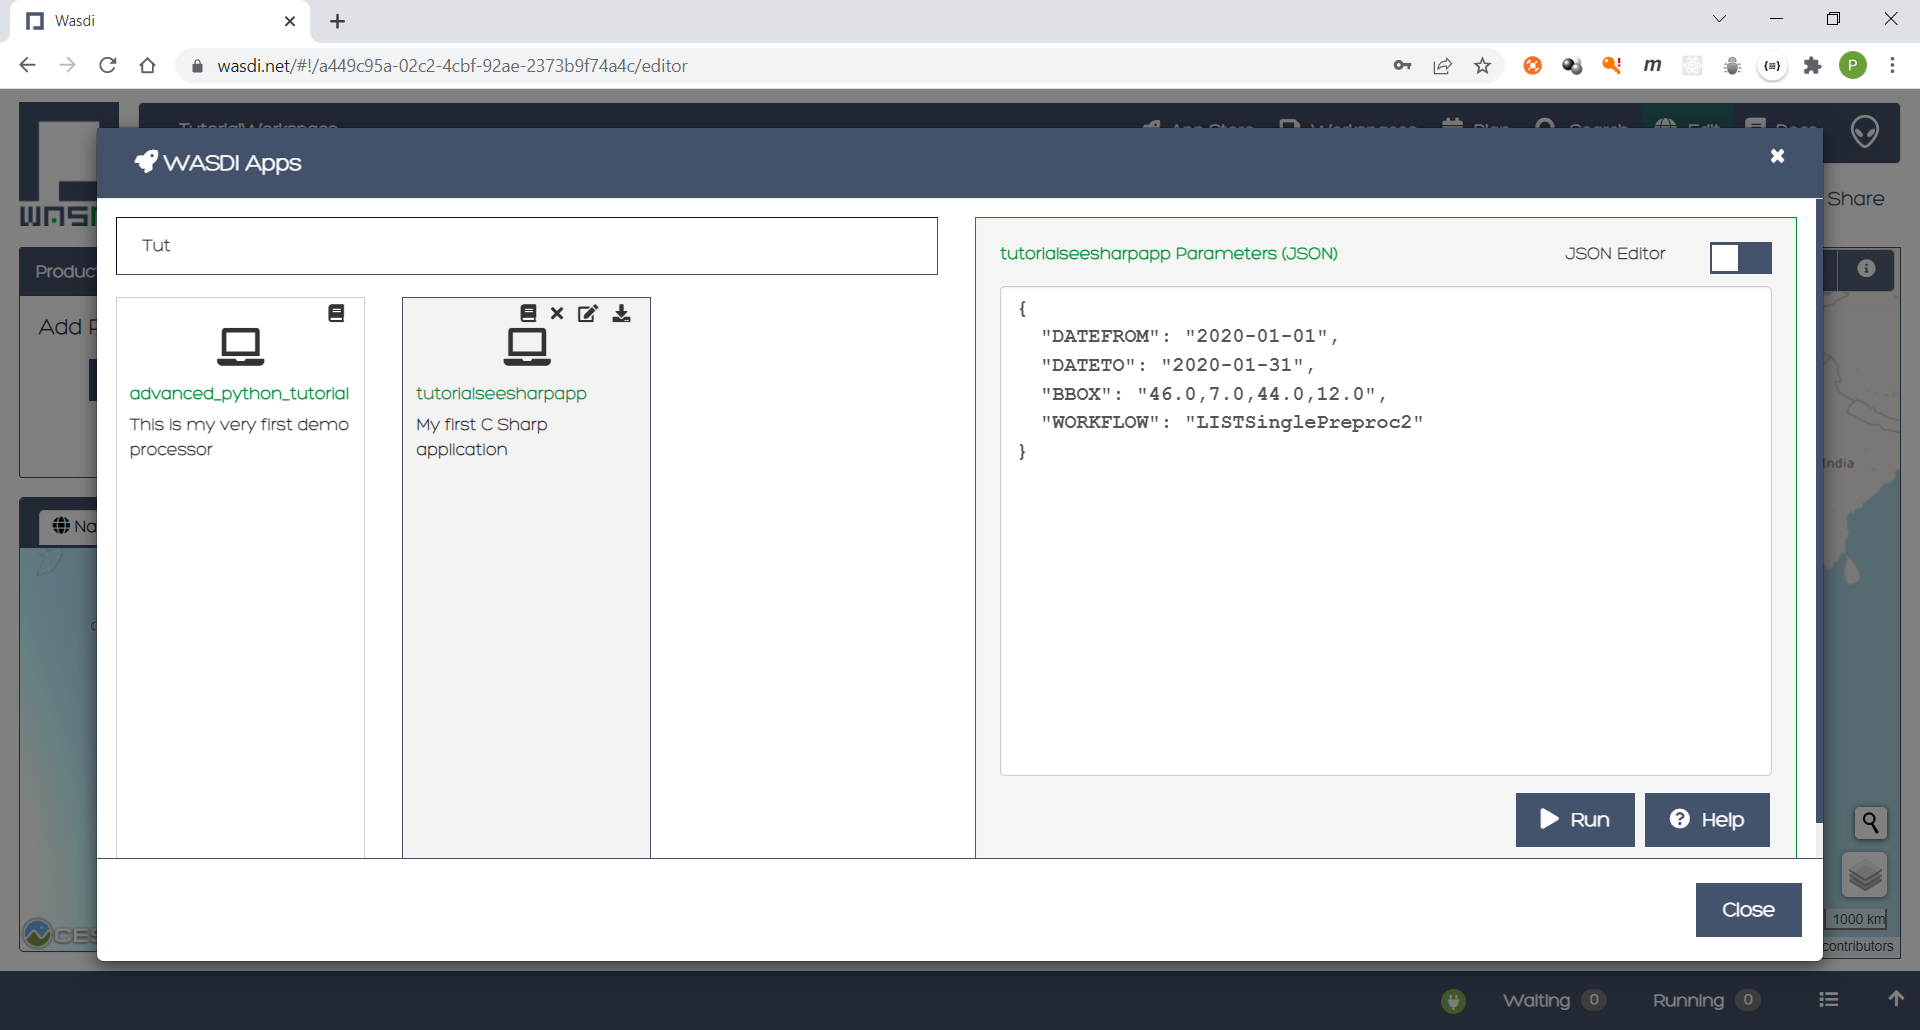
Navigate to the applications page by pressing the Apps button. Search the newly created application by filtering the list.
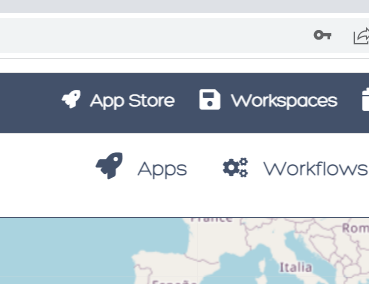
Type Tutorial and click on the application’s card.
Running the application
Adjust the parameters of the application as needed and press the Run button.
Depending on the load on the server, the deployed application starts executing in second or in minutes.

Also, the duration of the execution may vary. The bar and the percentage show to the user the progress.
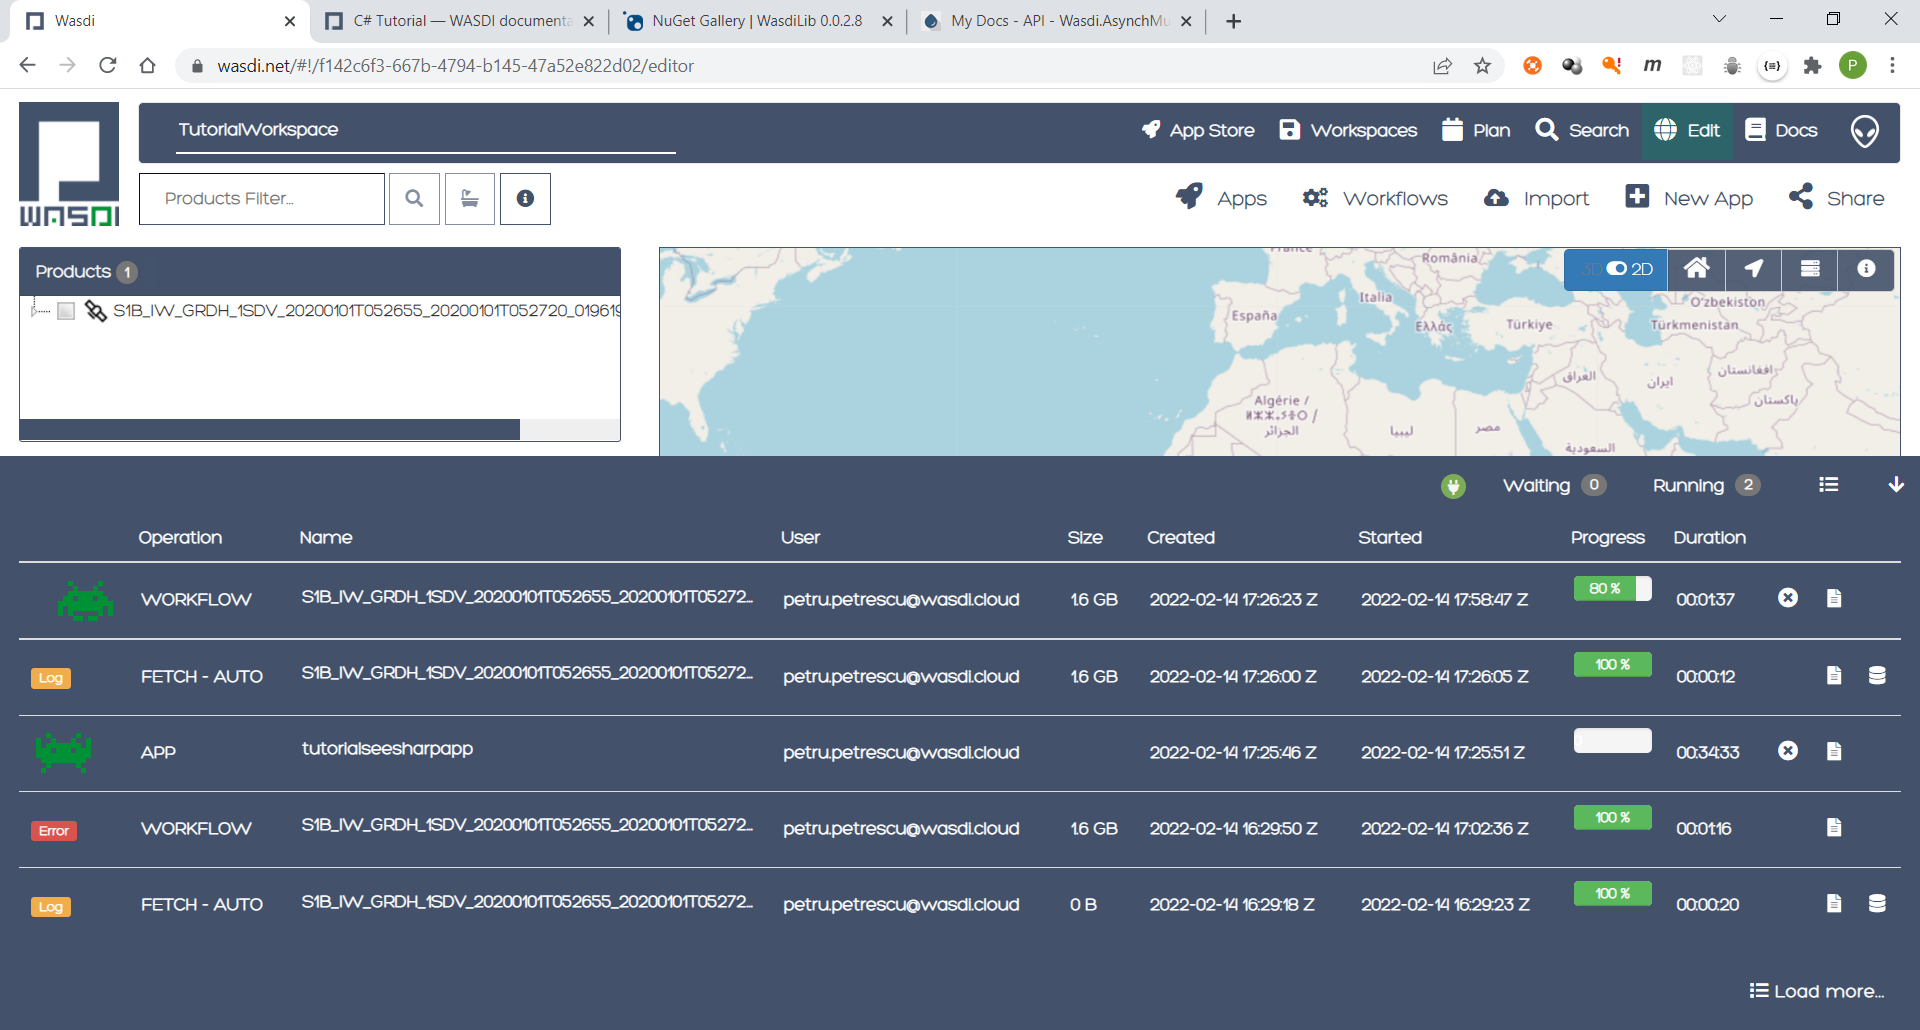
As soon as the execution is completed, a message is shown to the user.
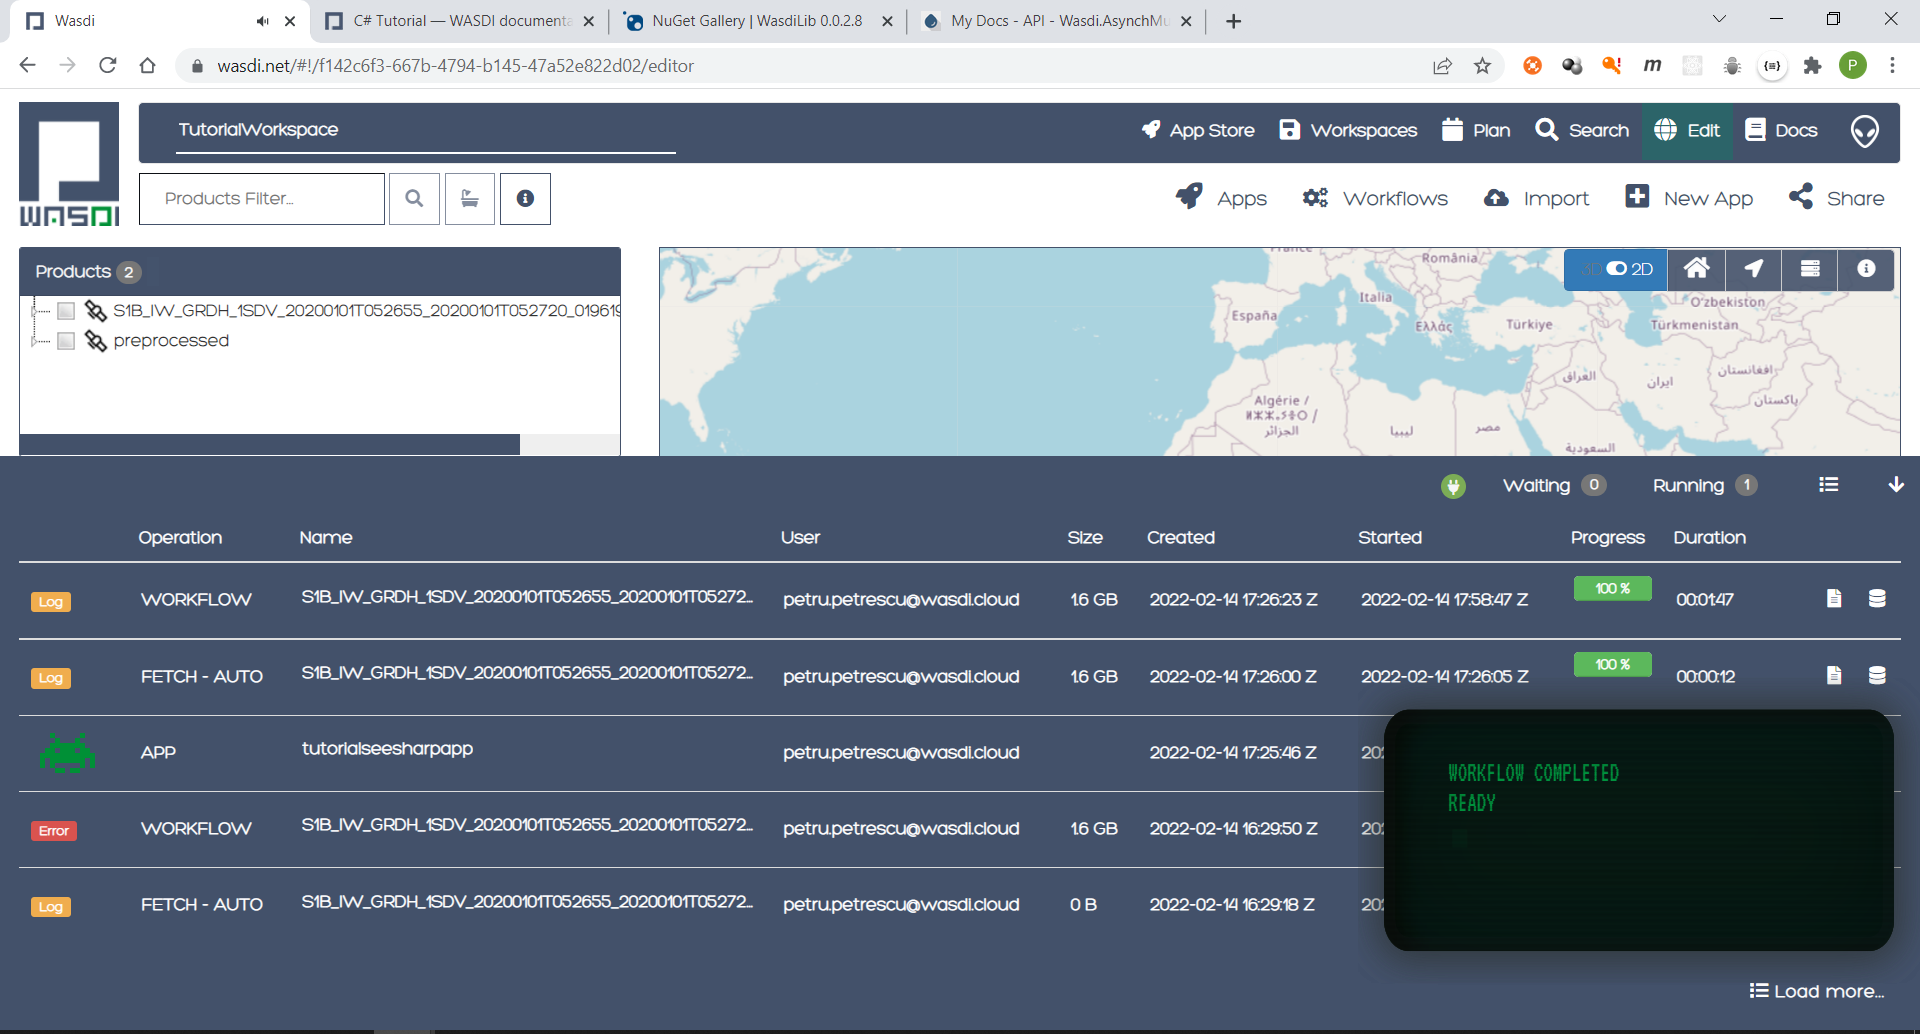
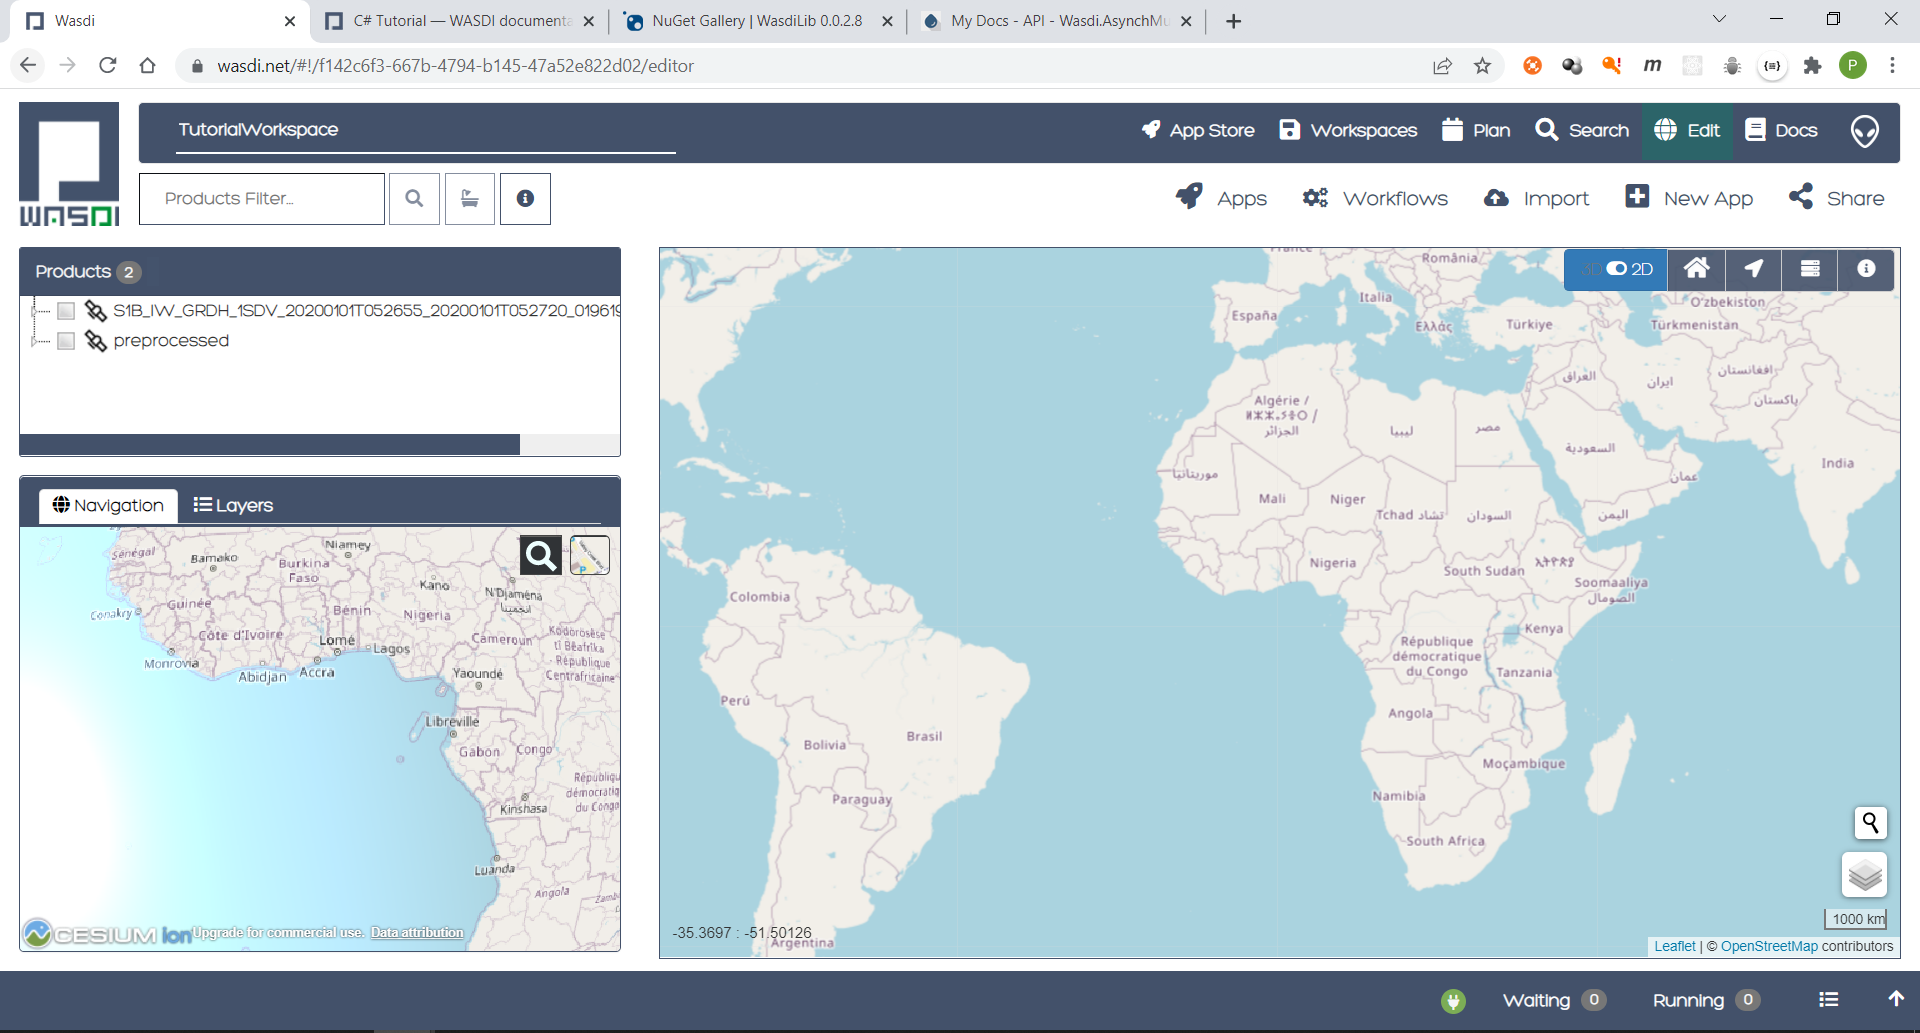
Minimizing the logging panel, the downloaded products become visible on the workspace.
The GitHub repository
The code showed in this tutorial can also be found on the dedicated public GitHub repository: https://github.com/wasdi-cloud/TutorialSeeSharpApp.
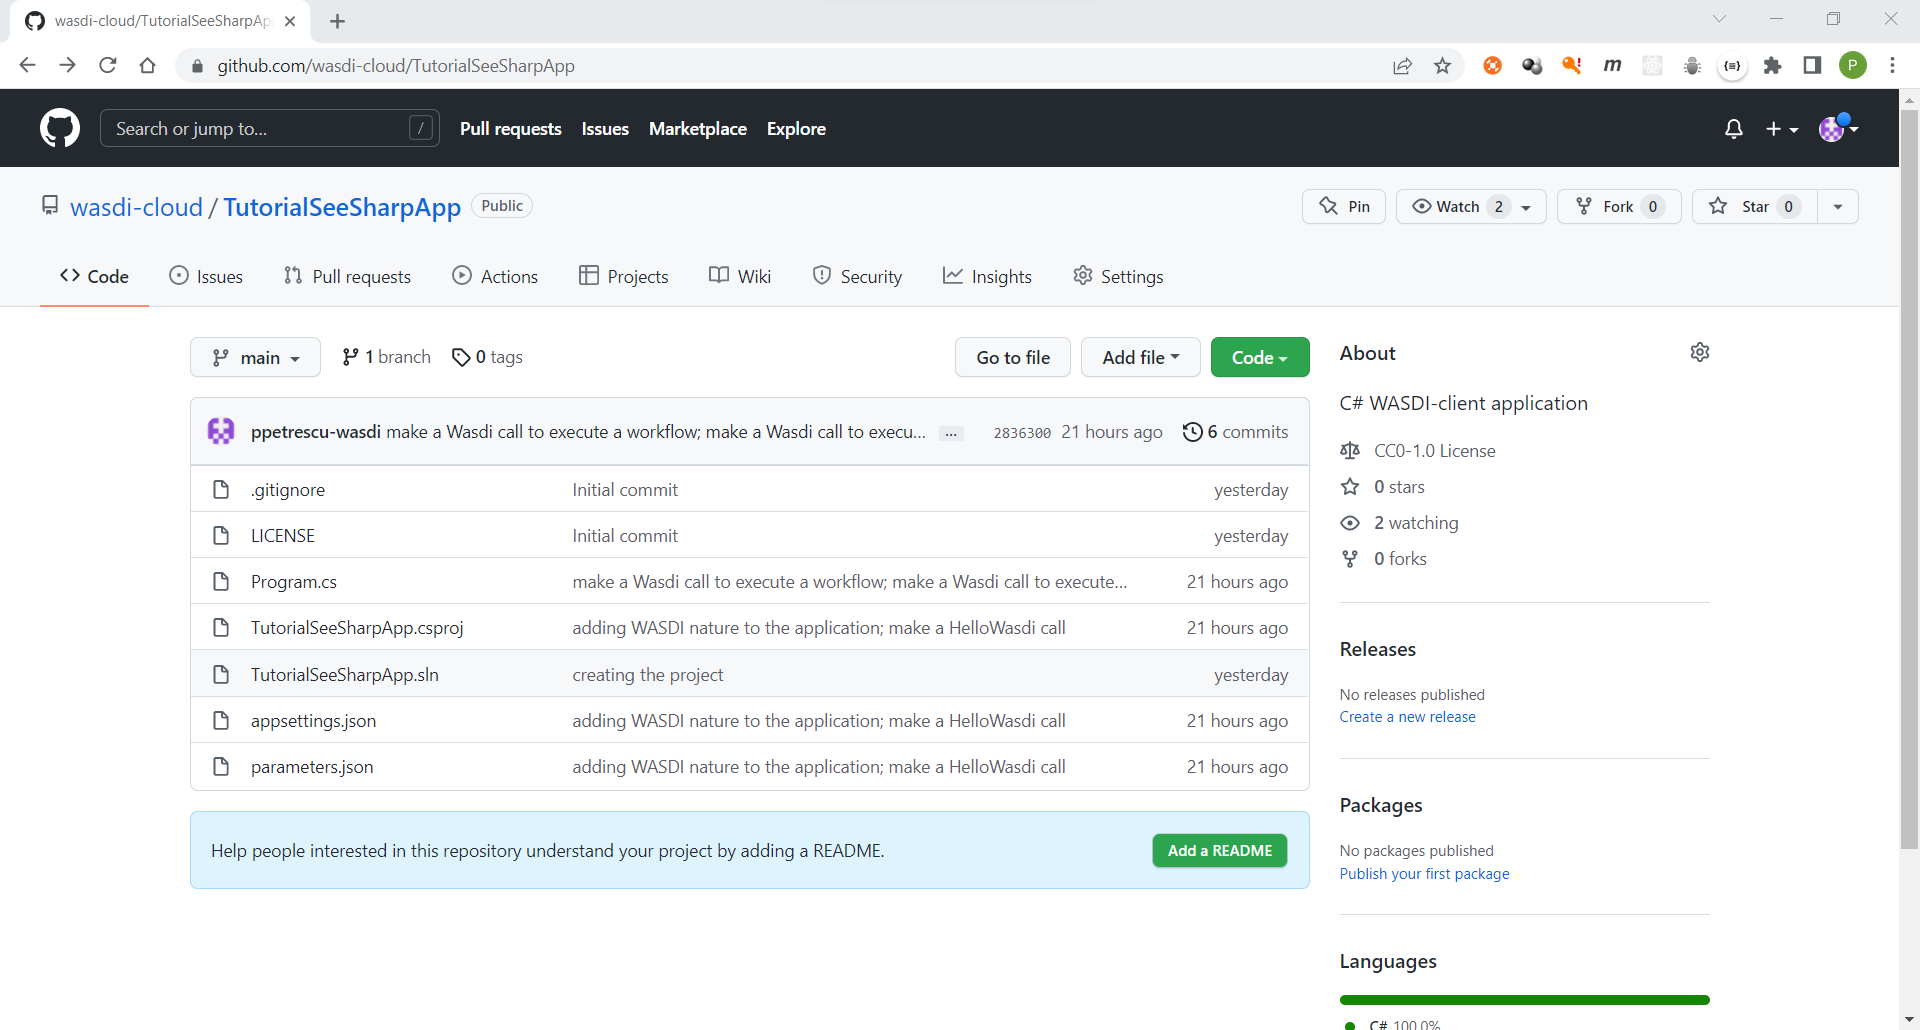
You can clone the project or download the code as a ZIP archive. The commits page highlights the steps of this tutorial.
The end
This is the end of the tutorial. Please try to use the WasdiLib to build interesting and powerful applications.
More information about the available operations can be found on the library reference page.